Note: When working with your own colors, play with the Blend mode and/or Opacity at your own discretion Preparation Double clic on the preset "@qua_21.f1s" and it will be imported automatically
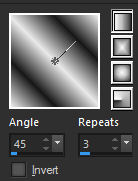
1. Materials palette: Set the Foreground color on #e9e9e9 (light) and the Background color on #181818 (dark) 2. Open "selections_alpha_airdutemp". 3. Duplicate (SHIFT+D) and close the original. 4. Work in the copy. 5. Rename this layer "Raster 1". 6. In your materials palette set the foreground to style linear:
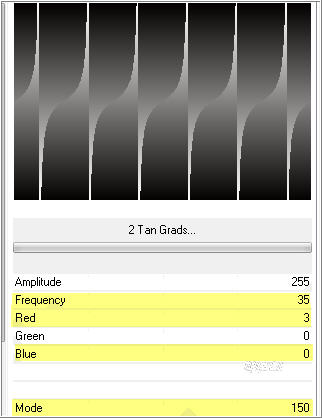
7. Flood fill the layer with the gradient. 8. Layers/Duplicate. 9. Effects/Plugins/Unlimited 2/Alf's Power Sines/2 Tan Grades:
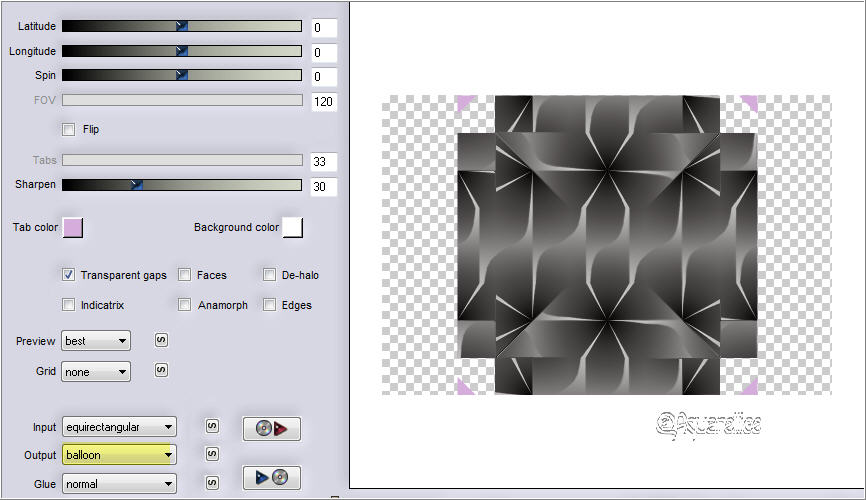
10. If you do not get your hue made: Adjust/Hue and Saturation/Colorize with the values of your light color. 11. Effects/Plugins/Flaming Pear/Flexify 2:
12. Selections/Load/Load selection from Alpha Channel and choose "Selection #1". 13. Hit the Delete Key of your keyboard. 14. Selections/Select none. 15. Activate the Pick tool (letter K).
16. Expands the layer to right and left:
17. Disactivate the Pick tool. 18. Layers/New raster layer. 19. Selections/Load/Load selection from Alpha Channel and choose "Selection #2". 20. Set the foreground color to #ffffff. 21. Flood fill the selection with foreground color. 22. You should have this:
23. Selectons/Modify/Contract: 2 px. 24. Hit the Delete Key of your keyboard. 25. Selections/Select none. 26. Layers/New raster layer. 27. Selections/Load/Load selection from Alpha Channel and choose "Selection #3". 28. Flood fill the selections with foreground color #ffffff. 29. Selections/Modify/Contract: 2 px. 30. Hit the Delete Key of your keyboard. 31. Set the foreground color to #e9e9e9. Set the Opacity of the Flood fill toll to 50:
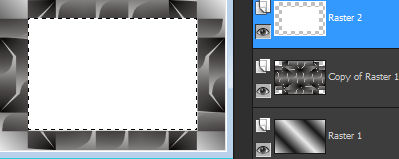
32. Flood fill the four selections. 33. Selections/Select none. 34. Layers/New raster layer. 35. Selections/Load/Load selection from Alpha Channel and choose "Selection #4". 36. Set the Opacity of the Flood fill toll to 100:
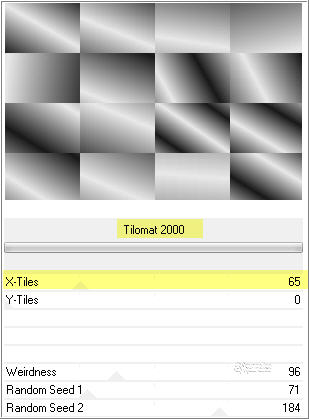
Flood fill the selection with the foreground gradient of point 6. 37. Selections/Select none. 38. Effects/Plugin/Unlimited 2/Simple/Top Left Mirror. 39. Selections/Select all. 40. Selection/Float. 41. Selection/Defloat. 42. Effects/Plugins/Alien Skin Eye Candy 5 Impact/Glass: from the User Settings choose the preset "@qua_21". 43. Selections/Select none. 44. Effects/3D Effects/Drop Shadow: 5 / 6 / 45 / 5 / #000000. 45. Layers/New Raster Layer. 46. Selections/Load/Load selection from Alpha Channel and choose "Selection #6". 47. Set the foreground color to #ffffff. 48. Flood fill the selection with the foreground color. 49. Selections/Select none. 50. Effects/3D Effects/Drop Shadow: settings in memory. 51. Activate the Copy of Raster 1. 52. Selections/Load/Load selection from Alpha Channel and choose "Selection #2". 53. Effetcs/Plug in/Unlimited 2/Color Effects/Invert Lightness, Keep Color. 54. Selections/Select none. 55. Activate the Raster 1. 56. Layers/Duplicate. 57. Close the visibility of Raster 1. 58. Layers/Merge/Merge visible. 59. Image/Resize to 80% (all layers not checked). 60. Effects/Image Effects/Offset: horiz. 0 / vert. 60 / custom and transparent. 61. Reopen the visibility of Raster 1 and activate it. 62. Layers/Duplicate. 63. Effects/Plugin/Unlimited 2/VM Distortion/Tilomat 2000:
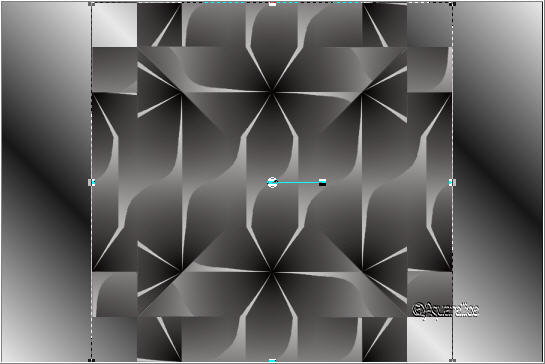
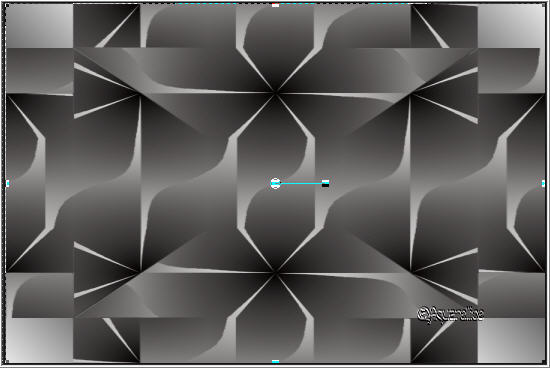
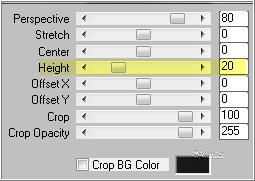
64. Effetcs/Plugin/Mura's Meister/Perspective Tiling:
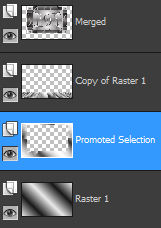
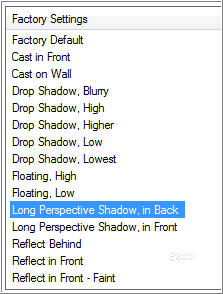
65. Effects/Plugins/VM Natural/Splash with default settings. 66. Set the blend mode to this layer to Hard light and change the opacity to 50. 67. Activate the Raster 1. 68. Selections/Load/Load selection from Alpha Channel and choose "Selection #5". 69. Selections/Promote selection to layer. 70. Effects/Plugins/VM Natural/Lightburst with default settings. 71. Selections/Select none. 72. Change the opacity of this layer to 80. 73. Your Layer Palette look like this: 74. 75. Activate the top layer (Merged). 76. Open the tube of woman. Edit/Copy and paste as new layer. 77. Image/Resize to 70% (all layers not checked). 78. Effects/Plugins/Alien Skin Eye Candy 5 Impact/Perspective Shadow: from the Settings choose the preset "Long Perspective Shadow, in Back":
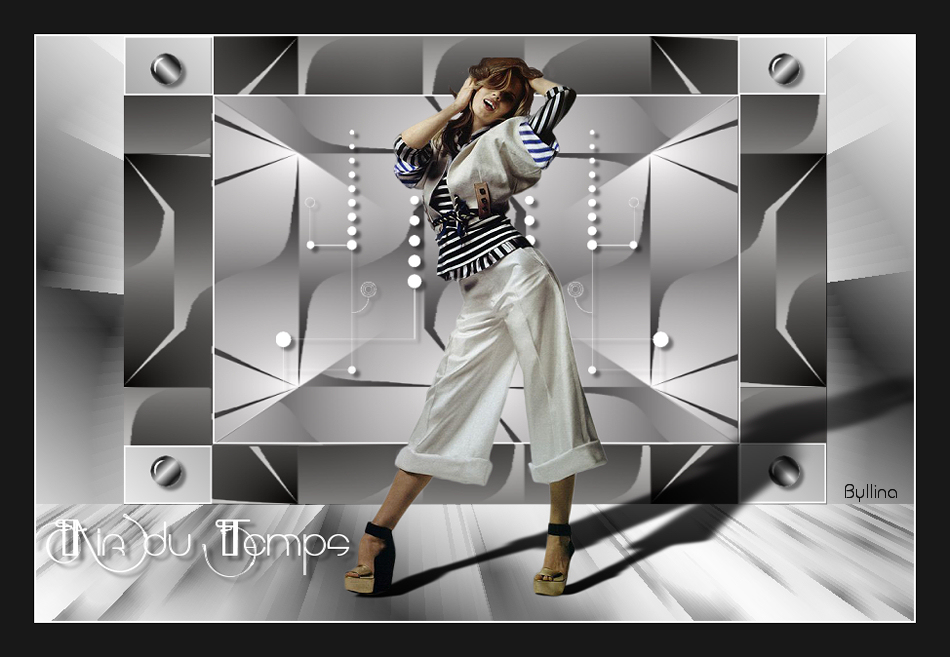
79. Open the tube "@qua_deco_airdutemp". Edit/Copy and paste as new layer. 80. Place like the final work. 81. Effects/3D Effects/Drop Shadow: settings in memory. 82. Image/Add borders symmetric of 2 px color #ffffff. 83. Image/Add borders symmetric of 35 px background color. 84. Layers/New Raster Layer. 85. Add your signature. 86. Layers/Merge/Merge all (Flatten). 87. Image/Resize to 950 px of width. Save as jpeg file. My version with the tube of Azalee
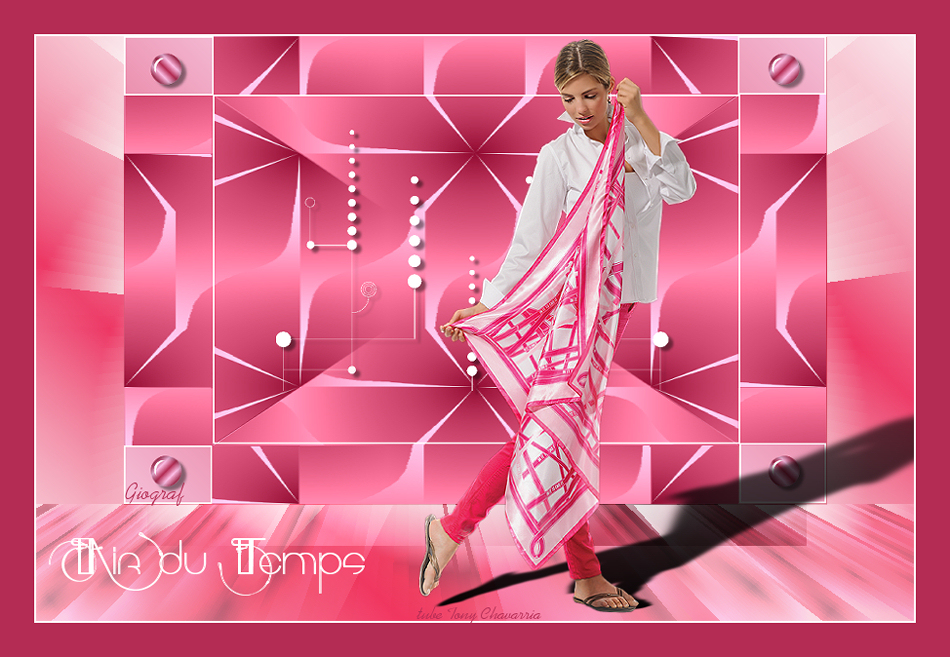
Grazie per le vostre splendide versioni! La mia tester Giograf
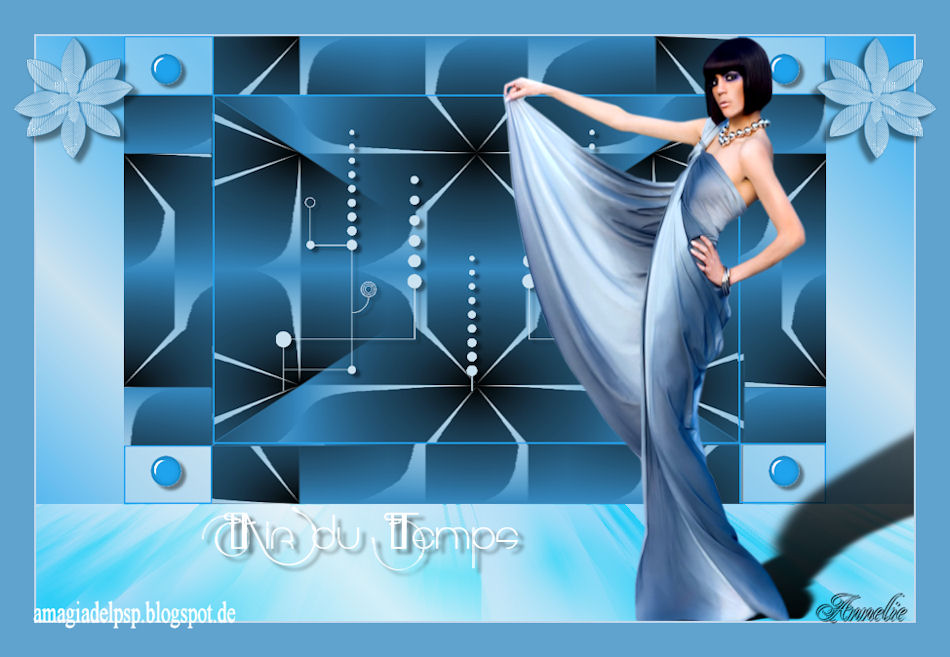
Annelie
Tutorial translated by Byllina the 11 march 2015 |