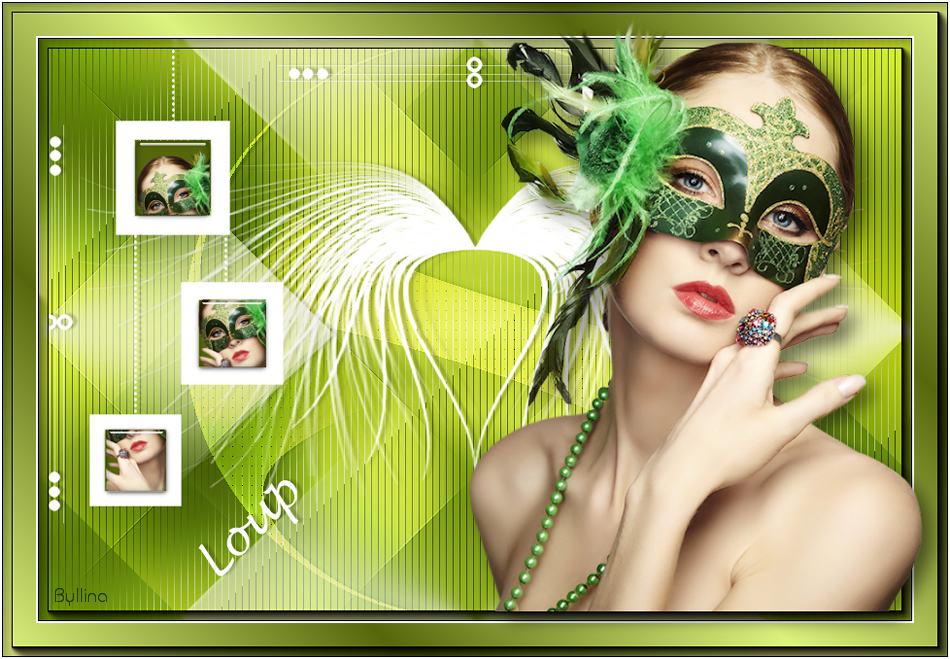
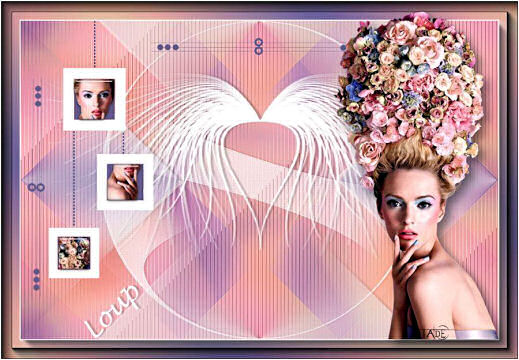
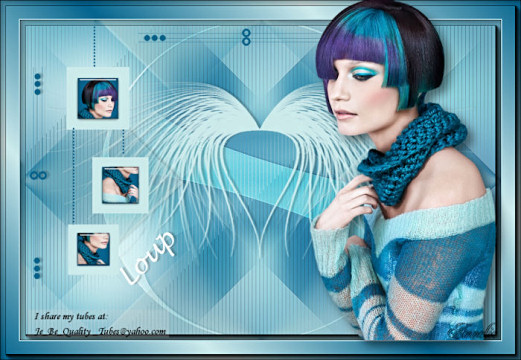
Note: When working with your own colors, play with the Blend mode and/or Opacity at your own discretion Preparation Copy the four files of the brush in the folder Brushes Double clic on the preset "@qua_glass7.f1s" and it will be imported automatically
1. Materials palette: Set the Foreground color on #ddf37f (light) and the Background color on #56660c (dark) 2. Open "selections_alpha_loup". 3. Duplicate (SHIFT+D) and close the original. 4. Rename this layer "Raster 1". 5. Effects/Plugins/Mehdi/Wavy Lab:
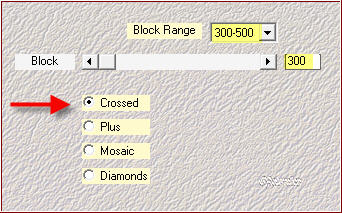
6. Adjust/Blur/Gaussian Blur: radius 25. 7. Effects/Plugins/Mehdi/Sorting Tiles:
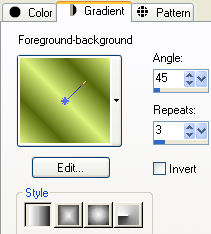
8. Layers/Duplicate. 9. Image/Mirror. 10. Set the blend mode to this layer to Overlay and change the opacity to 50. 11. Effects/Edge Effects/Enhance more. 12. Layers/New raster layer. 13. In your materials palette set the foreground to style linear:
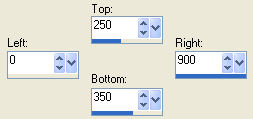
Flood fill the layer with the gradient. 14. Effects/Plugins/Simple/Blintz. 15. Effects/Plugins/Tramages/Two The Line with default settings. 16. Set the blend mode to this layer to Hard Light and change the opacity to 50. 17. Layers/Arrange/Move Down. 18. In the layers palette, activate the top layer (Copy of Raster 1). 19. Layers/New raster layer. 20. Activate the tool selection. 21. Choose the custom selection: 22. 23. Put the foreground color to #ffffff. 24. Activate the Flood Fill tool with these settings:
Flood fill the selection with the foreground color #ffffff. 25. Selections/Select none. 26. Effects/Distortion Effects/Wave:
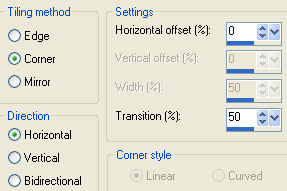
27. Effects/Image Effects/Seamless Tiling:
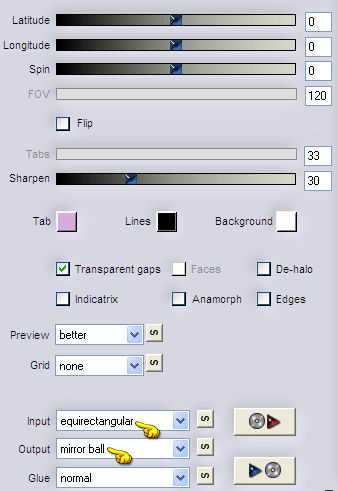
28. Effects/Plugins/Flaming Pear/Flexify 2:
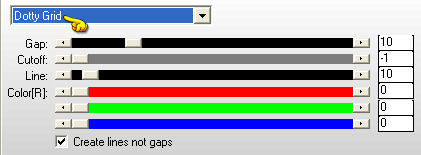
29. Effects/Plugins/AP [Lines]/Lines- Silverlining:
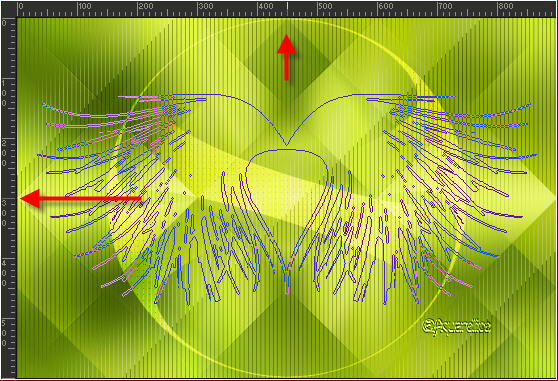
30. Effects/Edge Effects/Enhance more. 31. Set the blend mode to this layer to Overlay. 32. Effects/3D Effects/Drop Shadow: -1 / 5 / 20 / 3 / #000000. 33. Layers/New raster layer. 34. Activate the Paint Brush Tool. 35. Choose "@qua_pinceau_plume1" (size 900). 36. Apply as the example whit the foreground color in the center (to 450 px of width and 300 of height):
37. You should have this:
38. Effects/3D Effects/Drop Shadow: settings in memory. 39. Layers/New raster layer. 40. Selections/Load/Load selection from Alpha Channel and choose "Selection #1". 41. Flood fill the selection with the foreground color #ffffff (the opacity of the Flood fill tool still to 50). 42. Selections/Select none. 43. You should have this:
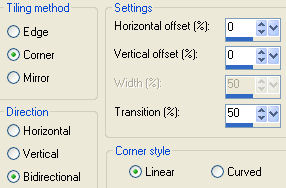
44. Effects/Image Effects/Seamless Tiling:
45. You should have this:
46. Effects/3D Effects/Drop Shadow: settings in memory. 47. Layers/New raster layer. 48. Selections/Load/Load selection from Alpha Channel and choose "Selection #2". 49. Set the Opacity of the Flood fill toll to 100:
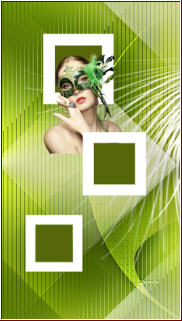
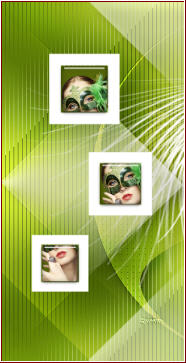
Flood fill the selections with the foreground color #ffffff. 50. Selections/Select none. 51. Select the center with the magic wand tool. 52. Flood fill the selections with the background color #56660c. 53. Selections/Select none. 54. Layers/Duplicate. 55. Image/Resize to 90% (all layers not checked). 56. Layers/Duplicate. 57. Image/Resize to 90% (all layers not checked). 58. Place like this:
59. Open the tube of woman "TubeNP 1391". 60. Image/Resize to 50% (all layers not checked) twice. 61. Edit/Copy and paste as new layer. Image/Mirror. 62. Activate the Raster 6. 63. Select the center with the magic wand tool. 64. Place the tube like this:
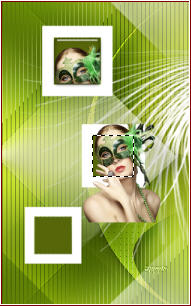
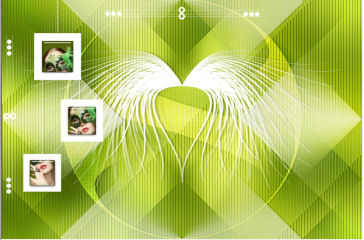
65. Selections/Invert. 66. Hit the Delete Key of your keyboard. 67. Selections/Invert. 68. Effects/Plugins/Alien Skin Eye Candy 5 Impact/Glass: from the menù User Settings down choose the preset "@qua_glass7". 69. The layer Raster 7 must be up the Raster 6. 70. Layers/Merge/Merge down. 71. You should have this:
72. Select the center of Copy of Raster 6 with the magic wand tool. 73. Edit/Copy and paste as new layer the tube "TubeNP 1391". 74. Place like this:
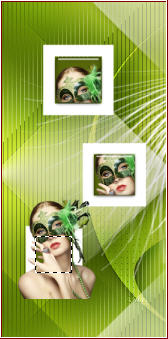
75. Selections/Invert. 76. Hit the Delete Key of your keyboard. 77. Selections/Invert. 78. Effects/Plugins/Alien Skin Eye Candy 5 Impact/Glass: settings in memory. 79. Selections/Select none. 80. The layer Raster 7 must be up the Copy of Raster 6. 81. Layers/Merge/Merge down. 82. Activate Copia 2 of Raster 6. 83. Select the center with the magic wand tool. 84. Edit/Copy and paste as new layer the tube "TubeNP 1391". 85. Place like this:
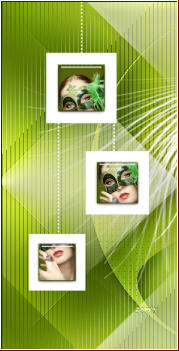
86. Selections/Invert. 87. Hit the Delete Key of your keyboard. 88. Selections/Invert. 89. Effects/Plugins/Alien Skin Eye Candy 5 Impact/Glass: settings in memory. 90. Layers/Merge/Merge down. 91. You should have this:
92. In the layers palette, activate the top layer. 93. Layers/New raster layer. 94. Selections/Load/Load selection from Alpha Channel and choose "Selection #3". 95. Flood fill the selections with the foreground color #ffffff. 96. Selections/Select none. 97. Effects/3D Effects/Drop Shadow: settings in memory. 98. You should have this:
99. Layers/New raster layer. 100. Activate the Paint Brush Tool. 101. Choose "@qua_trace_rond2" (size 600). 102. Apply as the example whit the foreground color in the center (450 px):
103. Apply un autre time but change the rotation of the brush to 90: 104. Apply as the example whit the foreground color in the center of height (300 px):
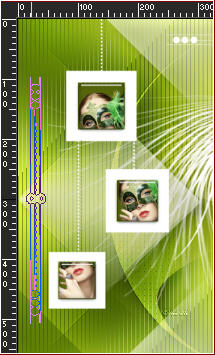
105. You should have this:
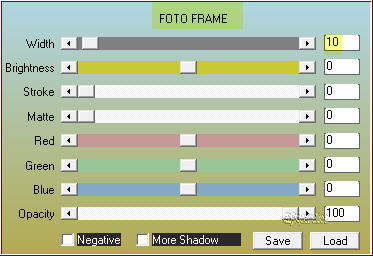
106. Effects/3D Effects/Drop Shadow: settings in memory. 107. Layers/Merge/Merge All (Flatten). 108. Effects/Plugins/AAA Frames/Foto Frame:
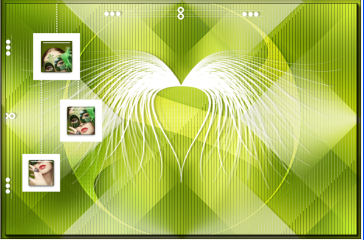
109. You should have this:
110. Image/Add borders symmetric of 2 px foreground color (#ffffff). 111. Image/Add borders symmetric of 35 px background color (#56660c). 112. Select this border with the magic wand tool. 113. In your materials palette set the foreground to style linear:
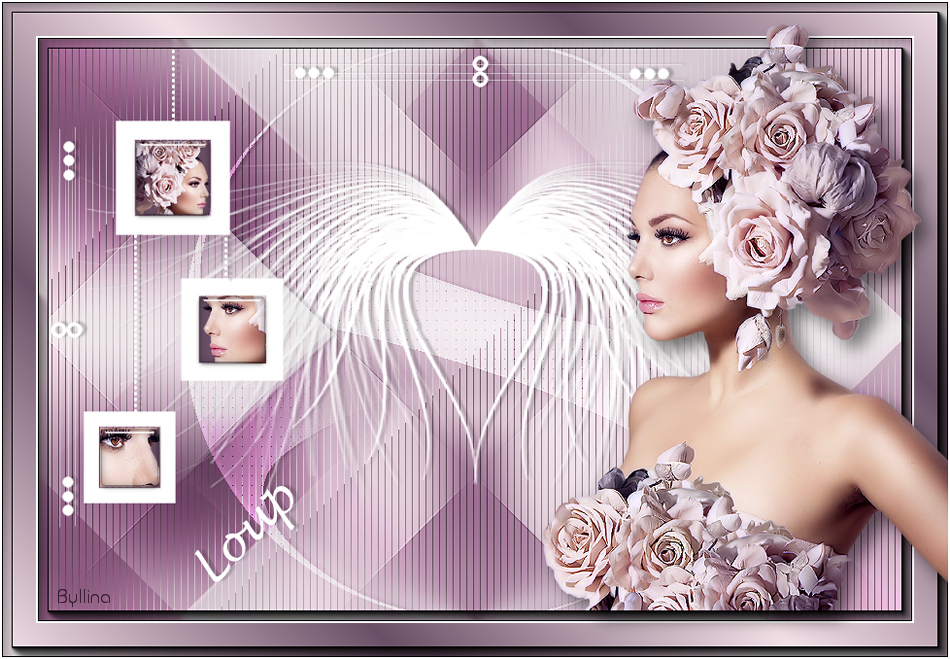
Flood fill the layer with the gradient. 114. Effects/Plugins/AAA Frames/Foto Frame: settings in memory. 115. Selections/Select none. 116. Open the tube of woman "TubeNP 1391" with the original size. Edit/Copy and paste as new layer 117. Image/Resize to 90% (all layers not checked) 118. Place like the final work. 119. Effects/3D Effects/Drop Shadow: 10 / 10 / 50 / 25 / #000000. 120. Add your signature. 121. Open the tube "texte_loup". 122. Edit/Copy and paste as new layer. 123. Place like the final work. 124. Image/Add borders symmetric of 2 px foreground color (#ffffff). 125. Save as jpeg file. My version with the Gabry's tube
Your versions - Thanks
Tutorial translated by Byllina the 28 october 2014 |
