Note: When working with your own colors, play with the Blend mode and/or Opacity at your own discretion Color used
Preparation Place the gradient "2016" in the folder Gradients
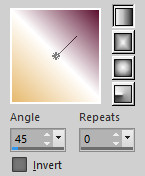
1. Materials palette: Set the Foreground color on #e6ba6f and the Background color on #5d1130. 2. Set the foreground to gradient style linear and choose "2016":
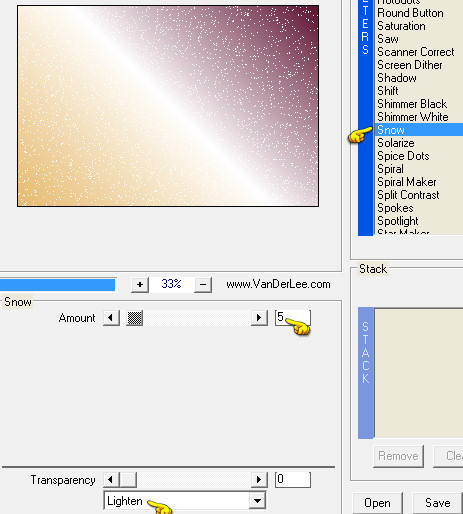
3. Open "selections_alpha_2016". 4.Window/Duplicate (SHIFT+D) and close the original. 5. Work in the copy. 6. Rename this layer "Raster 1". 7. Flood fill the layer with the foreground gradient. 8. Effects/Plugins/VanDerLee/Unplugged X: scegli il preset "Snow":
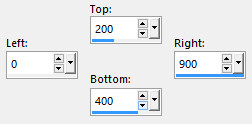
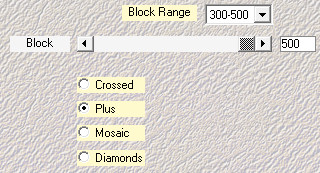
9. Layers/New raster layer. 10. Activate the selection tool and choose the custom selection: 11. 12. Flood fill the layer with the background color. 13. Selections/Modify/Contract: 3 px. 14. Hit the Delete Key of your keyboard. 15. Flood fill the selection with the foreground gradient. 16. Selections/Select none. 17. Effects/Plugins/Mehdi/Sorting Tiles:
18. Effects/Plugins/Mehdi/Kaleidoscope 2.1 with default settings.
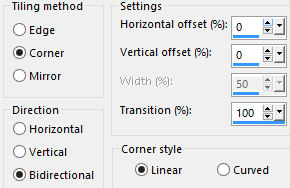
19. Effects/Image effects/Seamless Tiling:
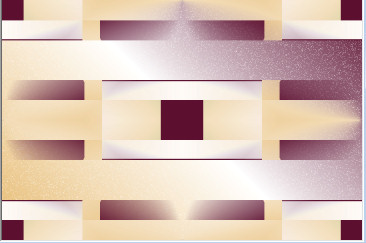
20. You should have this:
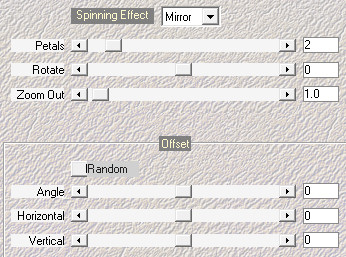
21. Effects/Plugins/Mehdi/Weaver:
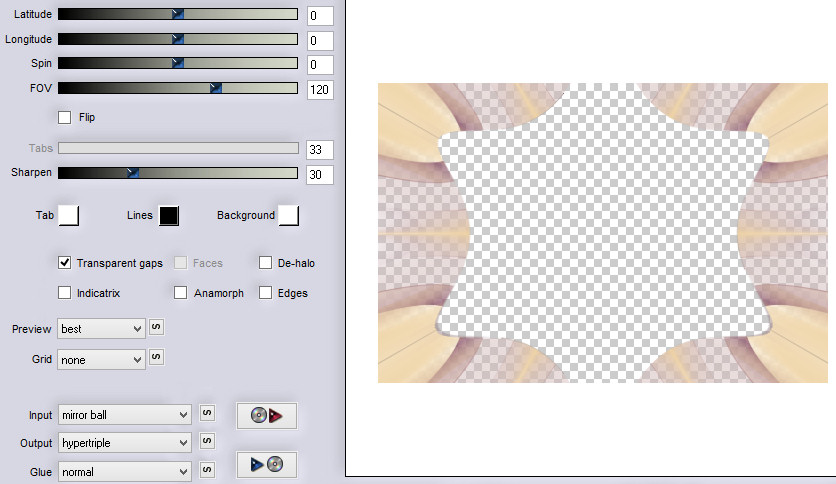
22. Effects/Plugins/Unlimited 2/VM Natural/Bubble Planet with default settings. 23. Selections/Load/Load selection from Alpha Channel and choose "Selection #1". 24. Hit the Delete Key of your keyboard. 25. Selections/Select none. 26. Effects/Plugins/Flaming Pear/Flexify 2:
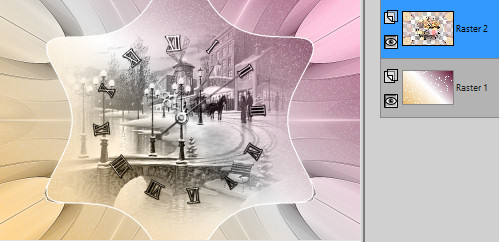
27. Effects/Edge Effects/Enhance More. 28. Select the center with the magic wand tool. 29. Selections/Modify/Expand: 5 px. 30. Hit the Delete Key of your keyboard. 31. Flood fill the selection with the color #ffffff. 32. Selections/Modify/Contract: 3 px. 33. Hit the Delete Key of your keyboard. 34. Open the misted "3365-luzcristina". Edit/Copy and paste into selection. 35. Open the tube "midnight_fantasy_clock_with_shadow". Edit/Copy and paste as new layer. 36. Selections/Select none. 37. Layers/Merge/Merge down. 38. Set the blend mode of this layer to luminance (Legacy). You should have this:
39. Materials palette: Set the Foreground color on #64111c and the Background color on #ffffff. Write "2015" with the font "Comic Sans MS" (Size 60 px - Stroke width 1 px). 40. Clic the right mouse button and choose Convert to Raster Layer. Place like this:
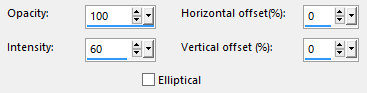
41. Effects/Reflection Effects/Feedback:
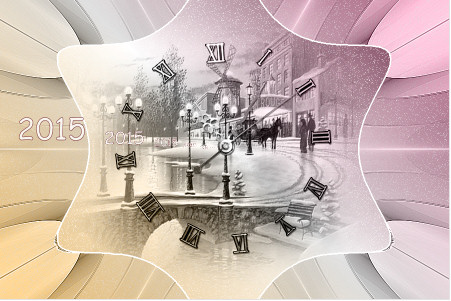
42. Set the opacity of this layer to 80. 43. You should have this:
44. Write "2016" with the font "Comic Sans MS": settings in memory. Clic the right mouse button and choose Convert to Raster Layer. 45. Set the blend mode of this layer to hard light. Place like this:
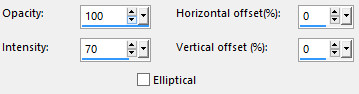
46. Effects/Reflection Effects/Feedback:
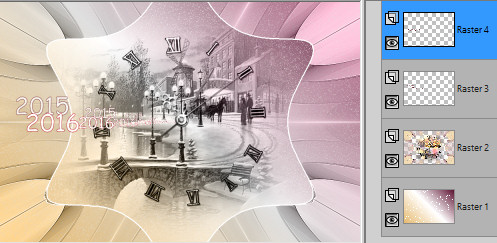
47. You should have this:
48. Effects/3D Effects/Drop Shadow: 7 / 0 / 25 / 5 / #000000. 49. Selections/Load/Load selection from Alpha Channel and choose "Selection #2". 50. Activate the Raster 2. Selections/Promote selection to layer. 51. Effects/Plugins/Nik Software/Color Effex Pro: to left choose the preset "Graduated User Defined" (or another) with default settings. 52. Activate the Raster 2. Hit the Delete Key of your keyboard. 53. Selections/Select none. 54. Activate the Raster 1. 55. Layers/Duplicate. 56. Effects/Plugins/Nik Software Color Effex Pro: to left choose the preset "Bi_Color User Defined" (or another) with default settings. 57. Set the opacity of this layer to 20. 58. Activate the top layer (Raster 4). 59. Open the tube "Jenn_Twins". Edit/Copy and paste as new layer. 60. Place like the final work. 61. Effects/3D Effects/Drop Shadow: 10 / 10 / 35 / 15 / #000000. 62. Image/Add borders symmetric of 2 px background color #ffffff. 63. Image/Add borders symmetric of 35 px background color #64111c. 64. Select the border dark with the magic wand tool. 65. Flood fill the selection with the foreground gradient "2016", but invert the gradient:
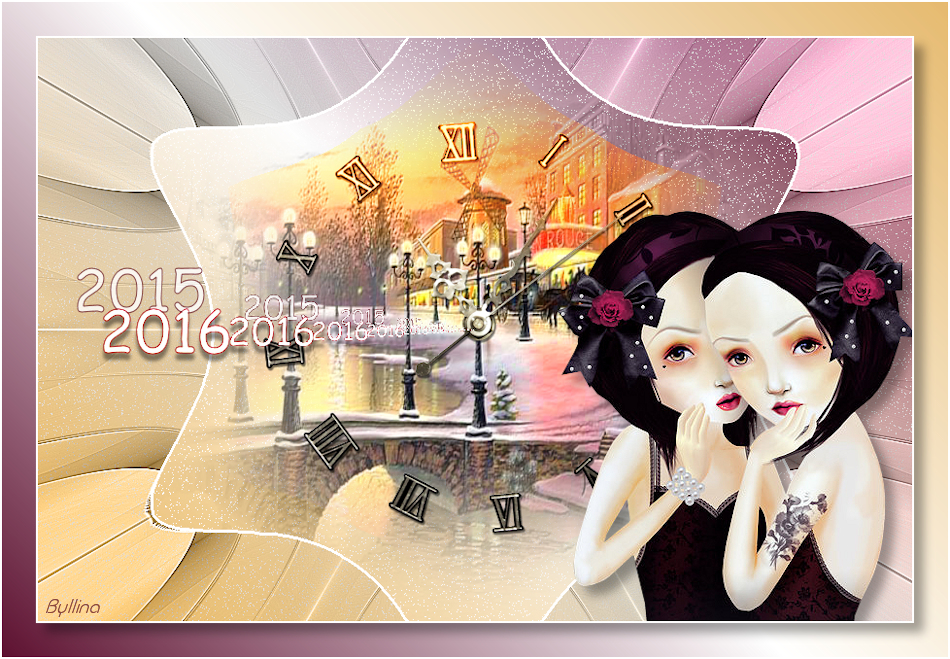
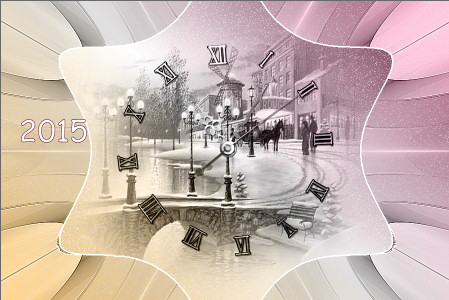
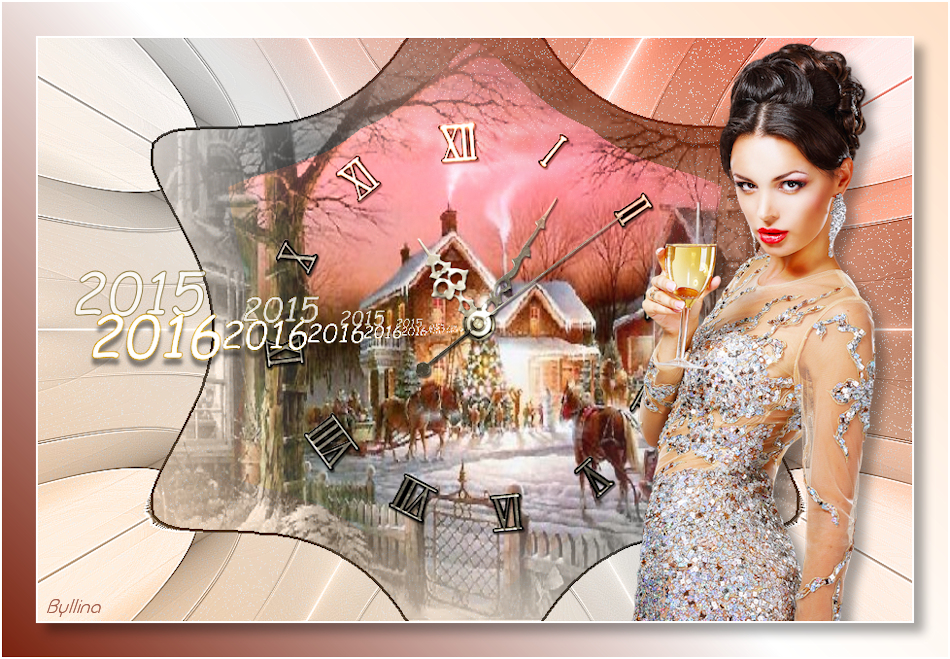
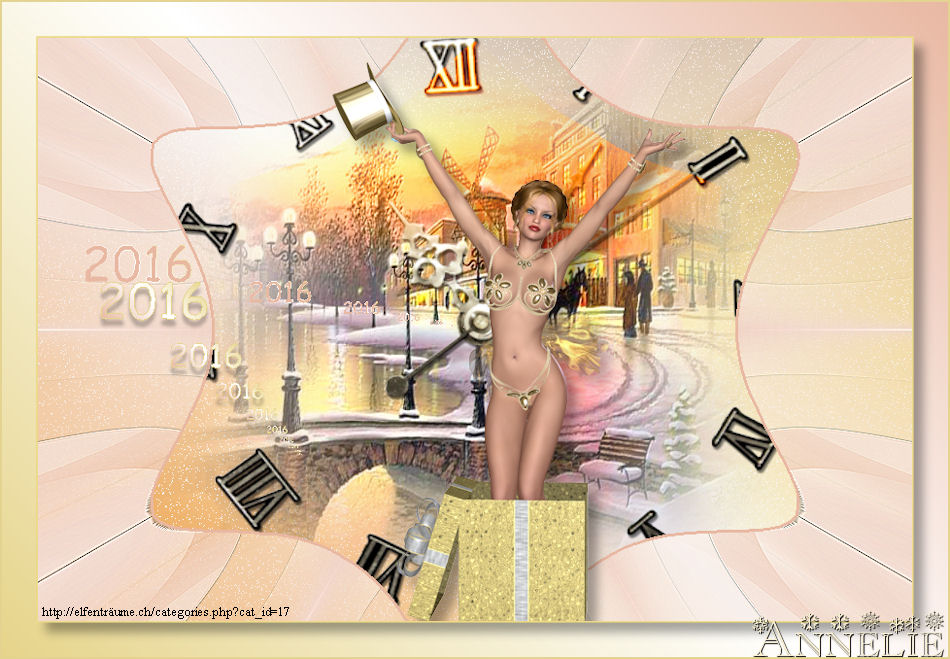
66. Selections/Invert. 67. Effects/3D Effects/Drop Shadow: settings in memory. 68. Selections/Select none. 69. Image/Add borders symmetric of 2 px background color #ffffff. 70. Layers/New raster layer. 71. Add your signature. 72. Layers/Merge/Merge all (Flatten). Image/Resize to 950 px of width. Save as jpeg file. My version with the tube by Maryse and misted by Angie
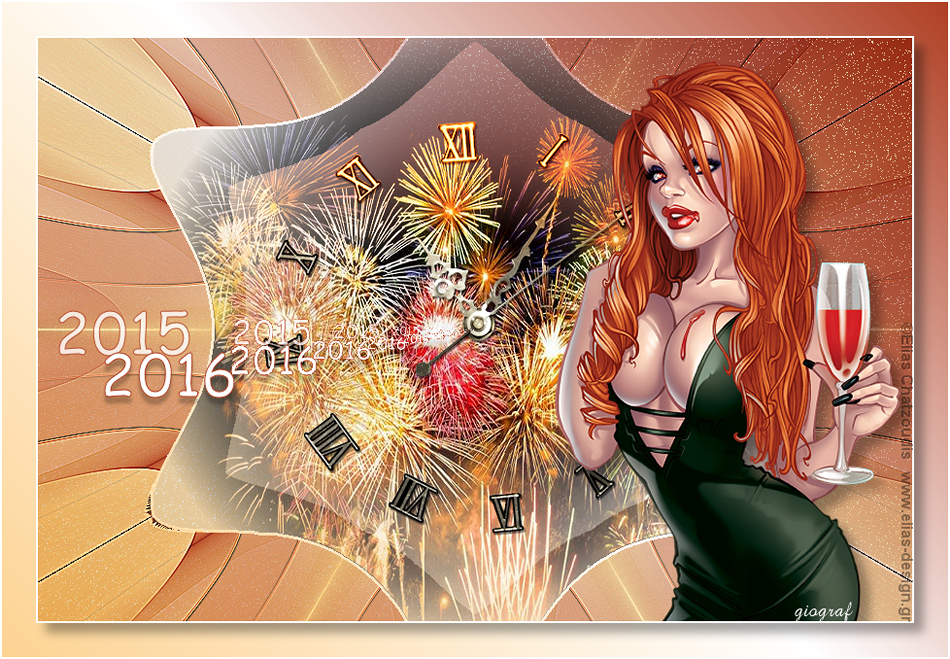
Thanks for your versions! My tester Giograf I versione
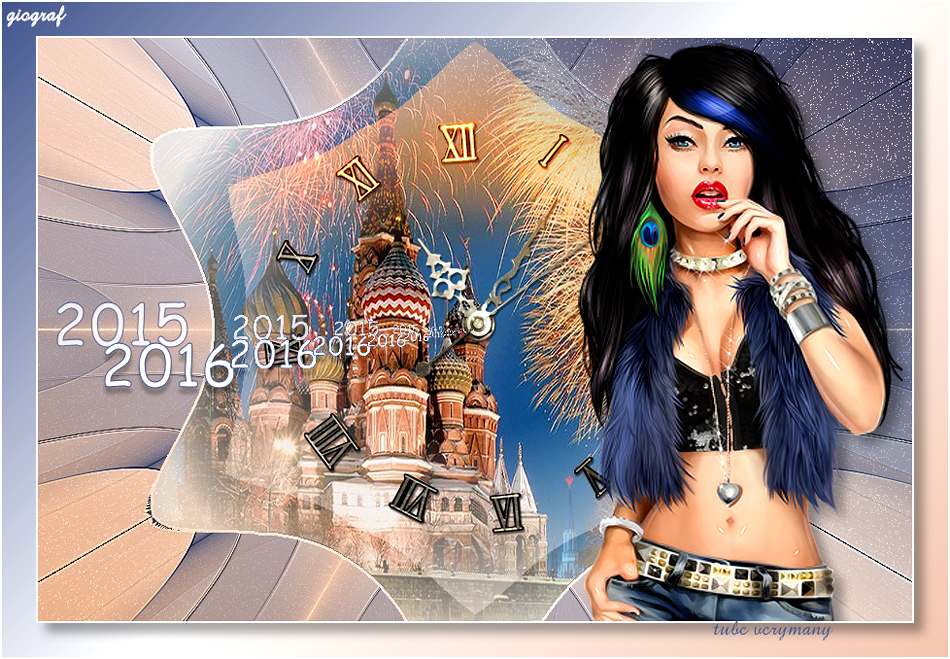
My tester Giograf II versione
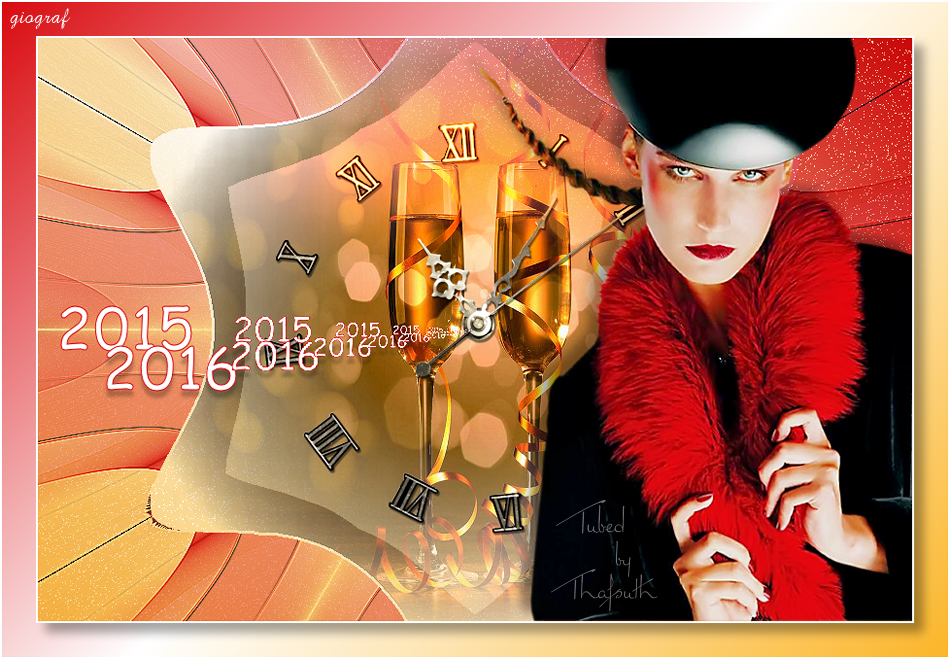
My tester Giograf III versione
Annelie
Tutorial translated by Byllina the 21 december 2015 |