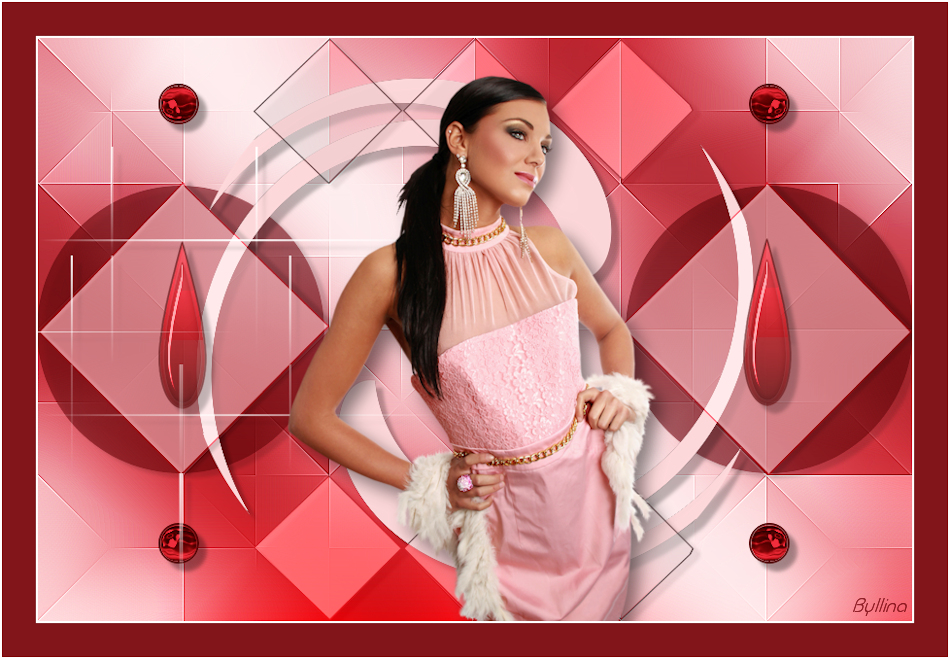
Note: When working with your own colors, play with the Blend mode and/or Opacity at your own discretion Color used
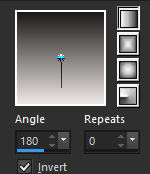
1. Materials palette: Set the Foreground color on #ede8e5 and the Background color on #1b1817. 2. Open "selections_alpha_jewels". 3. Window/Duplicate (SHIFT+D) and close the original. 4. Work in the copy. 5. Rename this layer "Raster 1". 6. Set the foreground to gradient style linear:
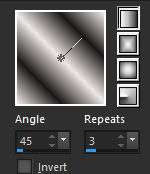
7. Flood fill the layer with the foreground gradient. 8. Layers/New raster layer. 9. Set the foreground to new gradient style linear:
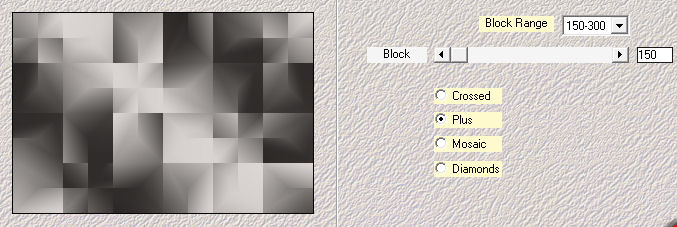
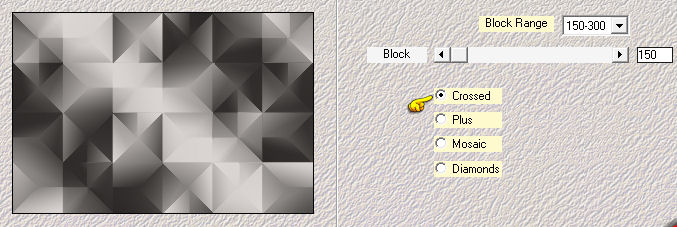
10. Flood fill the layer with the foreground gradient. 11. Adjust/Blur/Gaussian Blur: radius 35. 12. Set the blend mode to this layer to luminance. 13. Layers/Duplicate. 14. Effects/Plugin/Mehdi/Sorting Tiles:
15. Effects/Plugin/Mehdi/Sorting Tiles:
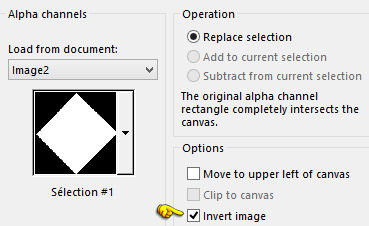
16. Set the blend mode of this layer to Overlay. 17. Effects/Edge Effects/Enhance more. 18. Layers/New raster layer. 19. Selections/Load/Load selection from Alpha Channel and choose "Selection #1":
20. Selections/Invert. 21. Flood fill the selection with the background color. 22. Selections/Modify/Contract: 2 px. 23. Hit the Delete Key of your keyboard. 24. Set the Opacity of the Flood fill toll to 50:
25. Flood fill the selection with the foreground color. 26. Selections/Select none. 27. Layers/Duplicate. 28. Image/Mirror/Mirror Horizontal. 29. Layers/Merge/Merge Down. 30. Set the blend mode to this layer to Hard Light (or other). 31. Effects/3D Effects/Drop Shadow: 0 / 7 / 15 / 5 / #000000. 32. Layers/New raster layer. 33. Selections/Load/Load selection from Alpha Channel and choose "Selection #2": settings in memory. 34. Selections/Invert. 35. Set the Opacity of the Flood fill toll to 100:
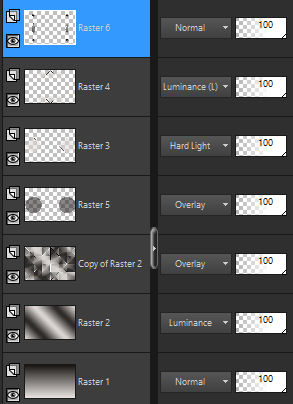
Flood fill the selection with the background color. 36. Selections/Modify/Contract: 2 px. 37. Hit the Delete Key of your keyboard. 38. Set the Opacity of the Flood fill toll to 50. Flood fill the selection with the foreground color. 39. Selections/Select none. 40. Layers/Duplicate. 41. Image/Mirror/Mirror vertical. 42. Layers/Merge/Merge Down. 43. Set the blend mode to this layer to Luminance Legacy (or other). 44. Effects/3D Effects/Drop Shadow: 5 / 7 / 15 / 5 / #000000. 45. Activate the layer Copy of Raster 2. 46. Layers/New raster layer. 47. Selections/Load/Load selection from Alpha Channel and choose "Selection #3": settings in memory. 48. Selections/Invert. 49. Flood fill the selection with the background color. 50. Selections/Select none. 51. Layers/Duplicate. 52. Image/Mirror/Mirror Horizontal. 53. Layers/Merge/Merge Down. 54. Effects/3D Effects/Drop Shadow: settings in memory. 55. Set the blend mode to this layer to Overlay (or other). 56. Activate the top layer (Raster 4). 57. Open the tube "6_jewels". Edit/Copy and paste as new layer. You can colorize it to match your work. 58. Your Layer Palette look like this:
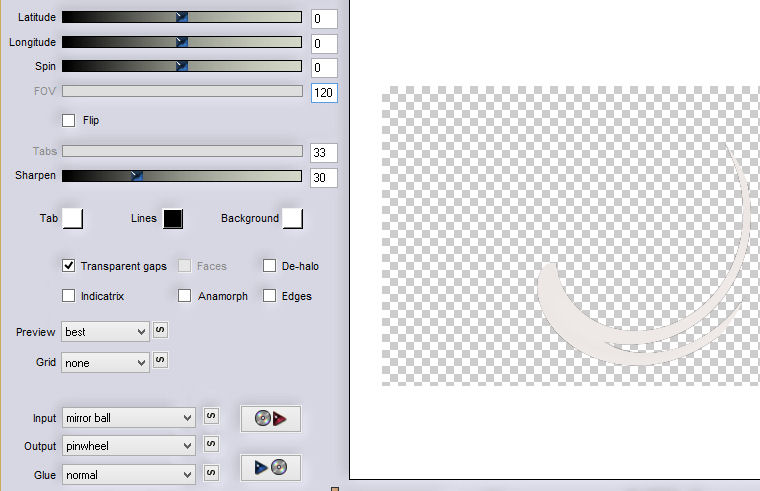
59. Layers/New raster layer. 60. Selections/Load/Load selection from Alpha Channel and choose "Selection #1": settings in memory. 61. Selections/Invert. 62. Set the Opacity of the Flood fill toll to 100. 63. Flood fill the selection with the color #ffffff. 64. Selections/Modify/Contract: 2 px. 65. Hit the Delete Key of your keyboard. 66. Selections/Select none. 67. Effects/Plugins/Unlimited 2/Toadies/Weaver with default Settings. 68. Layers/Duplicate. 69. Effects/3D Effects/Drop Shadow: 8 / 8 / 25 / 5 / #000000. 70. Activate the layer Copy of Raster 2. 71. Selections/Load/Load selection from Alpha Channel and choose "Selection #4": settings in memory. 72. Selections/Invert. 73. Layers/New raster layer. 74. Flood fill the selection with the foreground color #ede8e5. 75. Selections/Select none. 76. Effects/Plugins/Flaming Pear/Flexify 2:
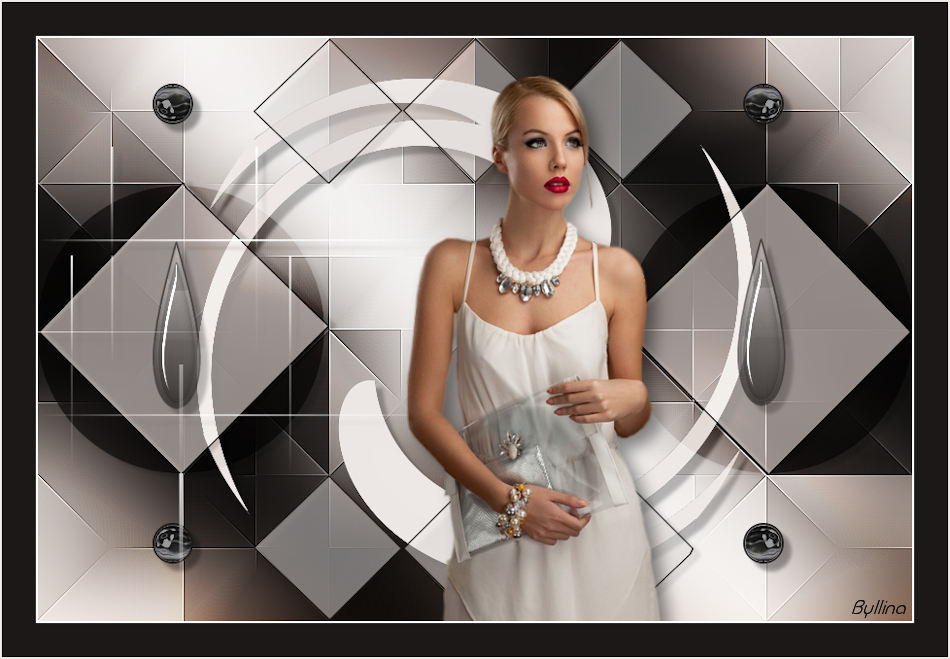
77. Layers/Duplicate. 78. Image/Mirror/Mirror Horizontal. 79. Image/Mirror/Mirror Vertical. 80. Layers/Merge/Merge down. 81. Effects/3D Effects/Drop Shadow: settings in memory. 82. Activate the top layer (Copy of Raster 7). 83. Open the tube of woman "babette - 306 - 14". Edit/Copy and paste as new layer. 84. Effects/3D Effects/Drop Shadow: 10 / 10 / 45 / 25 / #000000. 85. Effects/Image Effects/Offset: horiz. 60 / vert. -20 / custom and transparent. 86. Image/Add borders symmetric of 2 px color #ffffff. 87. Image/Add borders symmetric of 35 px background color #1b1817. 88. Image/Add borders symmetric of 2 px color #ffffff. 89. Layers/New Raster Layer. 90. Add your signature. 91. Layers/Merge/Merge all (Flatten). 92. Image/Resize to 950 px of width. Save as jpeg file. My version with the tube of Animabelle
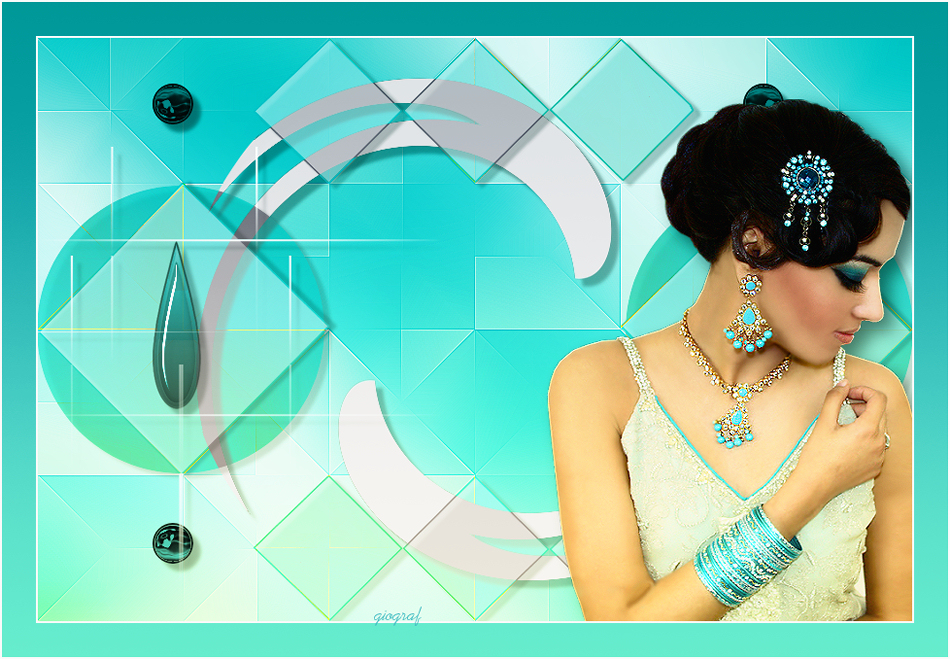
The beautiful version of my tester Giograf
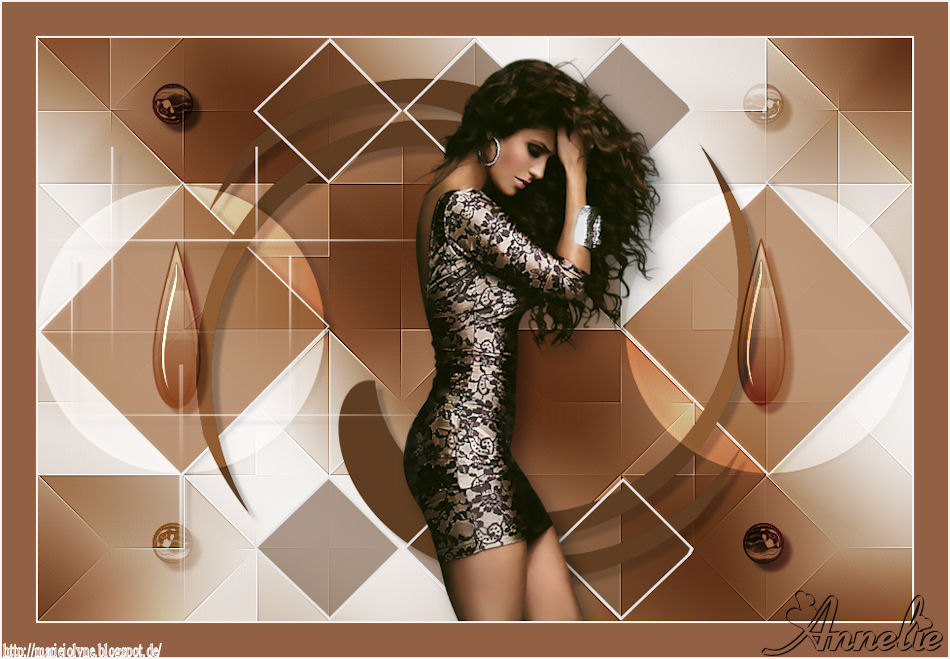
The beautiful version of Annelie
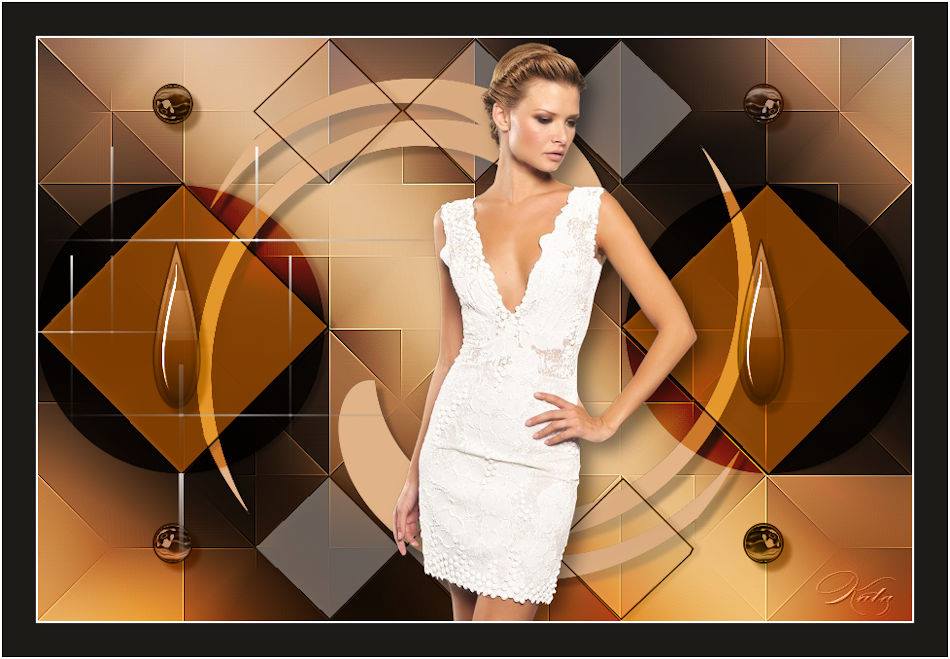
The beautiful version of Kata
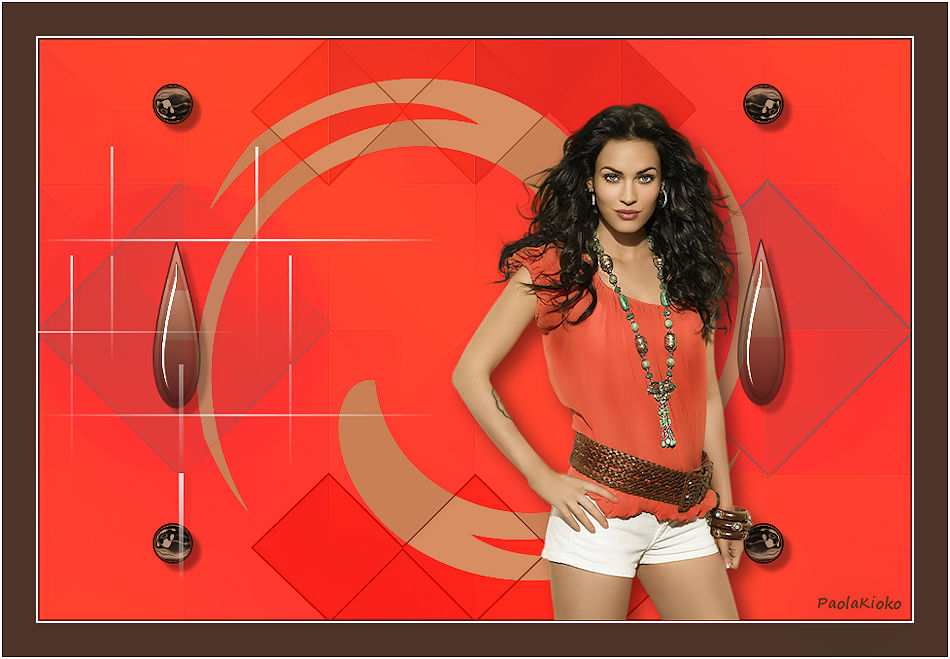
The beautiful version of Paola Kioko
Tutorial translated by Byllina the 27 septembre 2015 |
