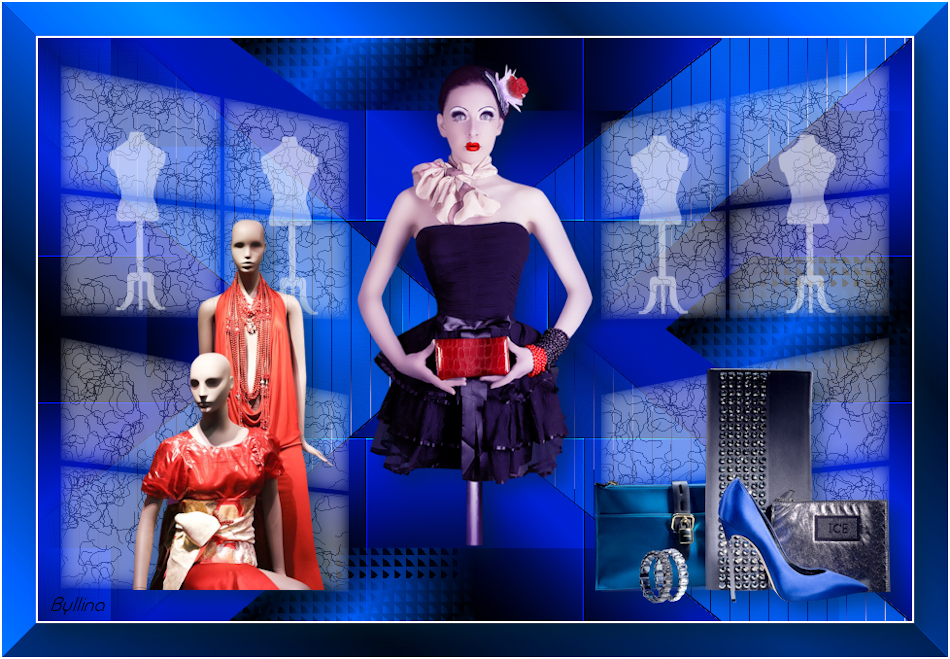
Note: When working with your own colors, play with the Blend mode and/or Opacity at your own discretion Color used
Preparation Place "@qua_mannequin.PspBrush" and "BrushTip_@qua_mannequin" in the folder Brushes
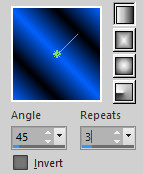
1. Materials palette: Set the Foreground color on #0060fd and the Background color on #000000. 2. Open "selections_alpha_mannequins". 3. Window/Duplicate (SHIFT+D) and close the original. 4. Work in the copy. 5. Rename this layer "Raster 1". 6. Set the foreground to gradient style linear:
Flood fill the layer with the foreground gradient. 7. Effects/Plugins/FM Tile Tools/Collage-Circular with default settings. 8. Layers/Duplicate. 9. Effects/Plugins/Unlimited 2/Simple/Top Left Mirror. 10. Effects/Edge Effects/Enhance More. 11. Effects/Plugins/Unlimited 2/Simple/Half Wrap. 12. Set the blend mode of this layer to Hard Light. 13. Layers/New raster layer. 14. Selections/Load/Load selection from Alpha Channel and choose "Selection #1". 15. Flood fill the selection with the background color. 16. Selections/Modify/Contract: 2 px. 17. Hit the Delete Key of your keyboard. 18. Set the Opacity of the Flood fill toll to 50.
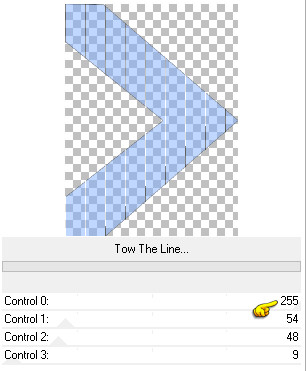
Flood fill the selection with the foreground color. 19. Effects/Plugins/Unlimited 2/Tramages/Tow The Line
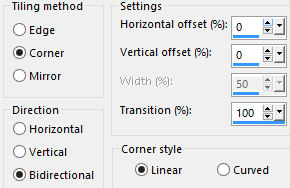
20. Selections/Select none. 21. Effects/Image effects/Seamless Tiling:
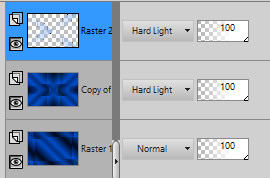
22. Set the blend mode of this layer to Hard Light. 23. Your Layer Palette look like this:
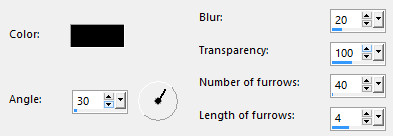
24. Layers/New raster layer. 25. Selections/Load/Load selection from Alpha Channel and choose "Selection #2". 26. Set the Opacity of the Flood fill toll to 100. Flood fill the selection with foreground gradient. 27. Effects/Plugins/L en K's/Djin: 80 / 18. 28. Selections/Select none. 29. Image/Mirror/Mirror Horizontal. 30. Effects/Image effects/Seamless Tiling: settings in memory. 31. Layers/New raster layer. 32. Selections/Load/Load selection from Alpha Channel and choose "Selection #3". 33. Set the Opacity of the Flood fill toll to 80. Flood fill the selection with color #ffffff. 34. Effects/Textures Effects/Fine Leather (color #000000):
35. Selections/Select none. 36. Open the tube "Grace's_TLC_FashionDoll". Edit/Copy and paste as new layer. 37. Image/Resize to 80% (all layers not checked). 38. Effects/Image Effects/Offset: horiz. 0 / vert. 25 / custom and transparent. 39. Effects/3D Effects/Drop Shadow: 10 / 10 / 45 / 25 / #000000. 40. Activate the Paint Brush Tool. 41. Choose "@qua_mannequin". 42. 43. In the materials palette you must have the foreground color #ffffff. 44. Layers/New raster layer. 45. Apply the brush as below four times:
46. Open the tube "calguismannequins19042012". Edit/Copy and paste as new layer. 47. Image/Resize to 50% (all layers not checked). 48. Effects/Image Effects/Offset: horiz. -250 / vert. -77 / custom and transparent. 49. Effects/3D Effects/Drop Shadow: settings in memory. 50. Open the tube "calguisdeco09122014". Edit/Copy and paste as new layer. 51. Image/Resize to 50% (all layers not checked). Effects/Image Effects/Offset: horiz. 275 / vert. -160 / custom and transparent. 52. Effects/3D Effects/Drop Shadow: settings in memory. 53. Image/Add borders symmetric of 2 px color #ffffff. 54. Image/Add borders symmetric of 35 px color #0060fd. 55. Select the border dark with the magic wand tool. 56. Flood fill the selection with the foreground gradient (the same of point 6):
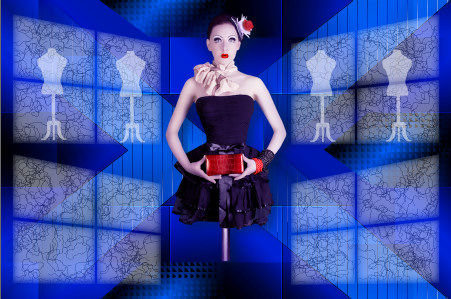
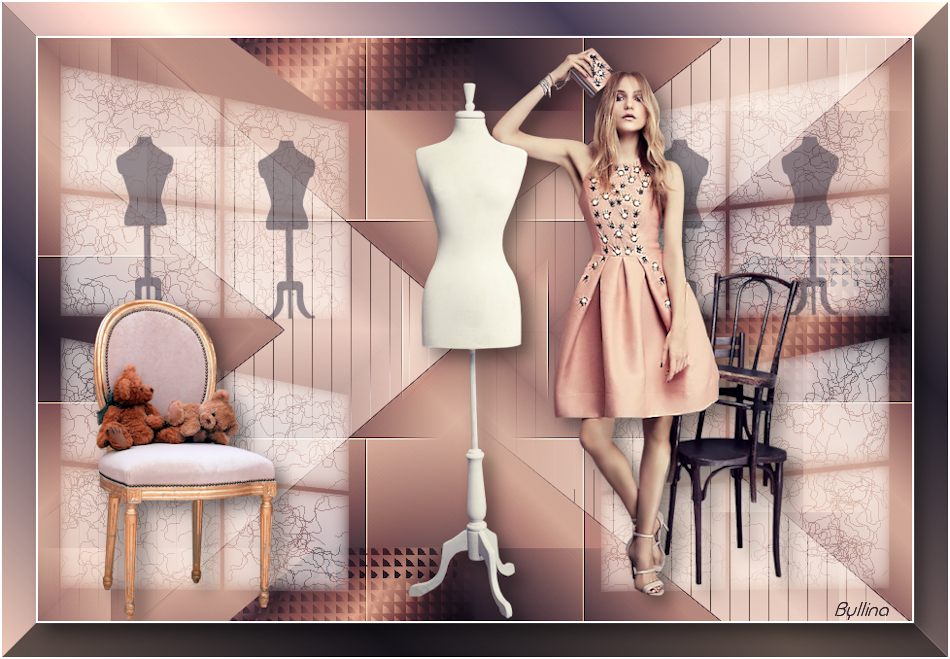
57. Effects/Plugins/Unlimited 2/Graphic Plus/Button Belever II with default settings. 58. Selections/Invert. 59. Effects/3D Effects/Drop Shadow: settings in memory. 60. Selections/Select none. 61. Image/Add borders symmetric of 2 px color #ffffff. 62. Layers/New Raster Layer. 63. Add your signature. 64. Layers/Merge/Merge all (Flatten). 65. Image/Resize to 950 px of width. Save as jpeg file. My version with the tube of Claudia Viza
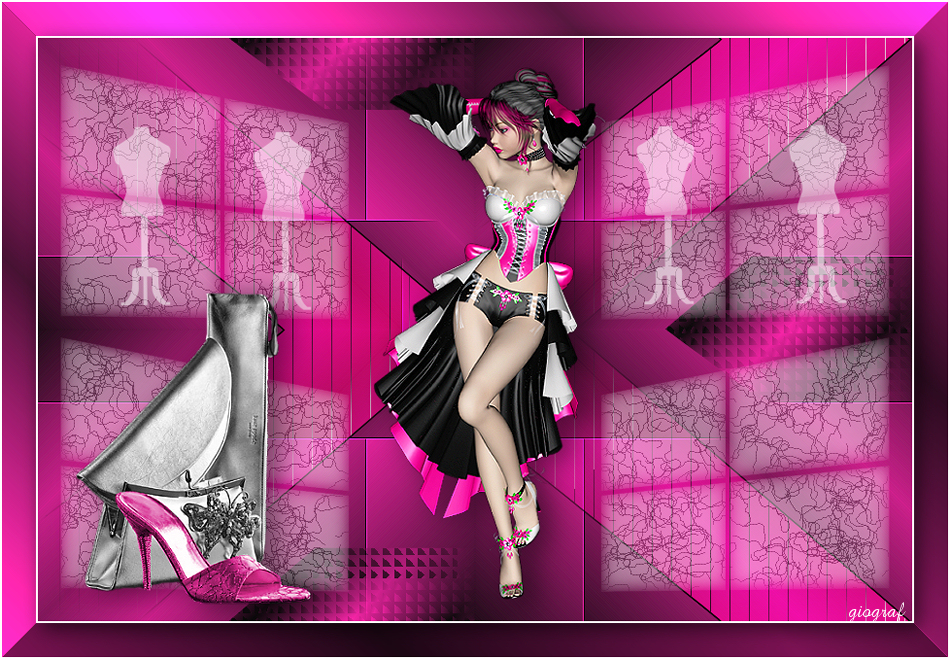
Le vostre versioni bellissime - Grazie! La mia tester Giograf I versione
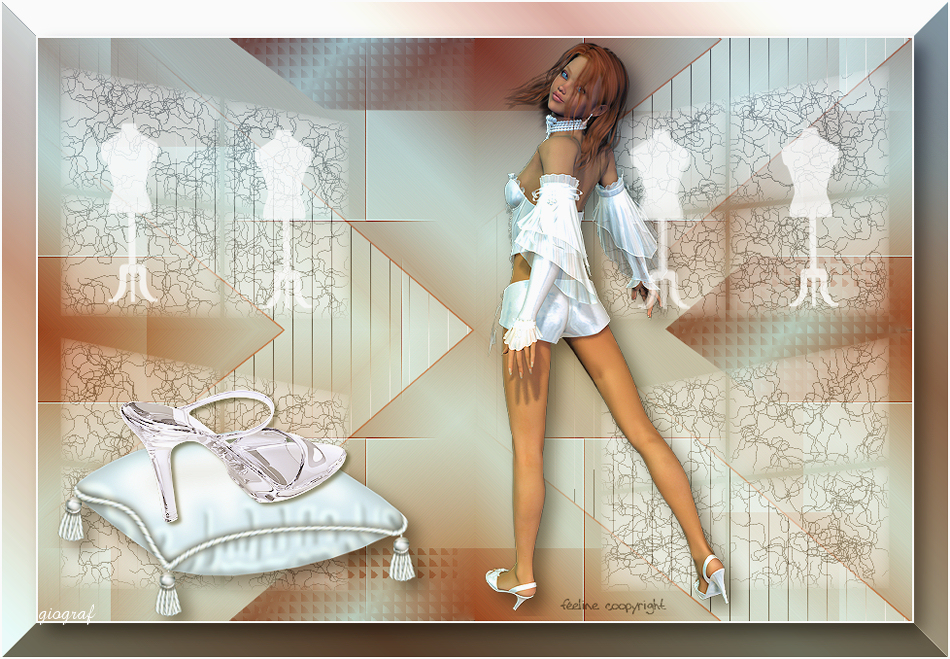
La mia tester Giograf II versione
Tutorial translated by Byllina the 27 october 2015 |
