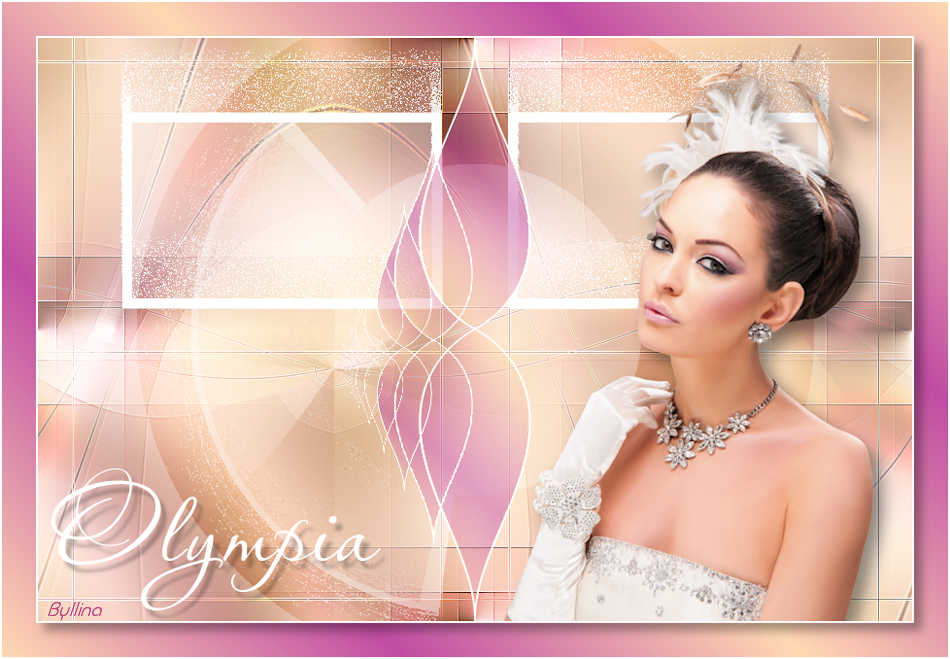
Olympia
You find the original of this tutorial here
Thank you very much Aquarellice for inviting me to translate your tutorials
I translated this tutorial using psp X8
Material here and woman's tube of your choice
Tube woman: Animabelle
Filters used: Unlimited 2 - Mehdi - Mock - Toadies - Flaming Pear - VM Natural

|
Bring the arrow to keep your place in your work
|
Note: When working with your own colors, play with the Blend mode and/or Opacity at your own discretion
Color used
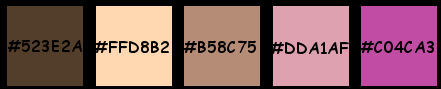
1. Materials palette: Set the Foreground color on #523e2a and the Background color on #ffd8b2.
2. Open "selections_alpha_olympia".
3. Window/Duplicate (SHIFT+D) and close the original.
4. Work in the copy.
5. Rename this layer "Raster 1".
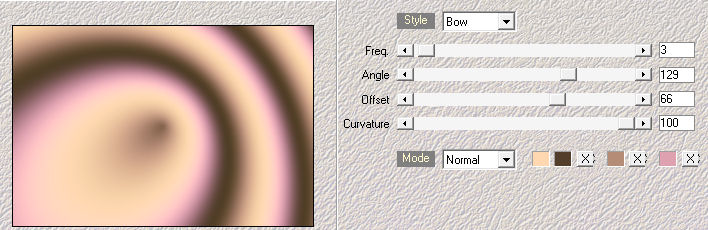
6. Effects/Plugins/Mehdi/Wavy Lab 1.1:
#ffd8b2 - #523e2a - #b58c75 - #dda1af
7. Layers/Duplicate.
8. Effetti/Plugins/Unlimited 2/Mock/Bevel with default settings.
9. Effects/Plugins/Unlimited 2/Toadies/What Are You with default settings.
10. Effects/Edge Effects/Enhance More.
11. Effects/Image Effects/Seamless Tiling:
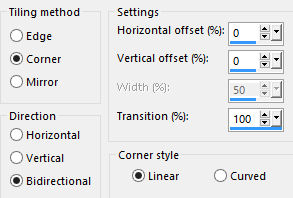
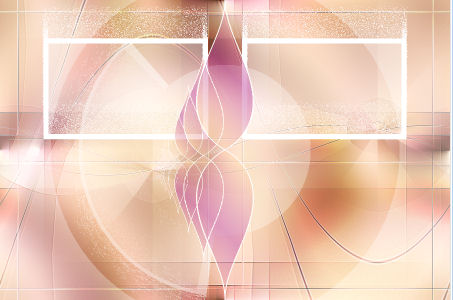
12. You should have this:
13. Layers/Duplicate.
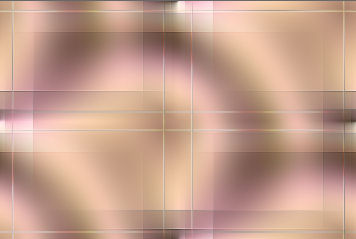
14. Effects/Plugins/Flaming Pear/Flexify 2:
15. Set the blend mode of this layer to Overlay.
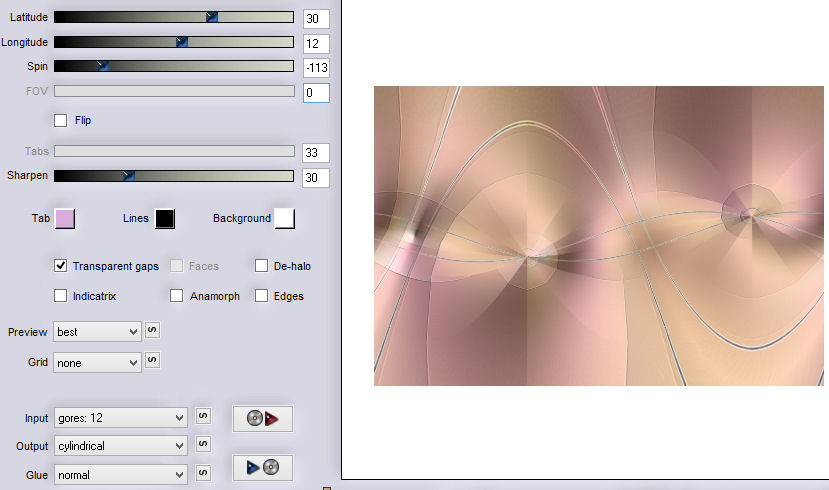
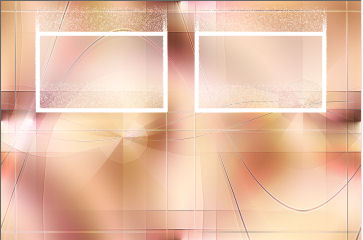
16. You should have this:
17. Layers/New raster layer.
18. Selections/Load/Load selection from Alpha Channel and choose "Selection #1".
19. Materials palette: Set the Foreground color on #ffffff.
20. Flood fill the selection with the foreground color.
21. Selections/Select none.
22. Layers/Duplicate.
23. Activate the Raster 2.
24. Effects/Plugins/Unlimited 2/VM Natural/Speed: 190 / 32 / 28 / 255.
25. Activate the top layer (Copy of Raster2).
26. Layers/Merge/Merge down.
27. Layers/Duplicate.
28. Image/Mirror/Mirror Horizontal.
29. You should have this:
30. Open the tube "deco1_olympia". Edit/Copy and paste as new layer.
31. Layers/New raster layer.
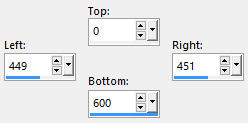
32. Activate the selection tool and choose the custom selection:
33. Flood fill the selection with the foreground color (#ffffff).
Activate the zoom if necessary.
34. Selections/Select none.
35. Effects/Distortion Effects/Twirl: 50.
36. Layers/Duplicate.
37. Image/Mirror/Mirror Horizontal.
38. Layers/Merge/Merge down.
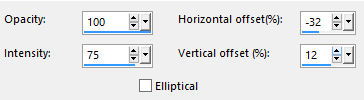
39. Effects/Reflection Effects/Feedback:
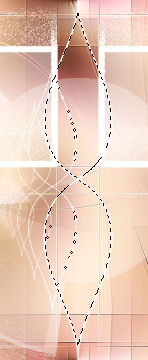
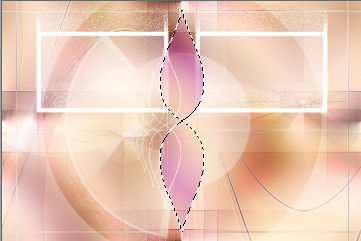
40. You should have this:

41. Select the first shape with the magic wand tool:
42. Materials palette: Set the Foreground color on #c04ca3 and the Background color on #ffd8b2.
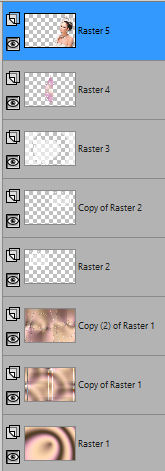
Set the foreground to gradient style linear:
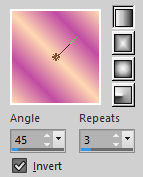
43. Set the Opacity of the Flood fill toll to 50:

Flood fill the selection with the foreground gradient.
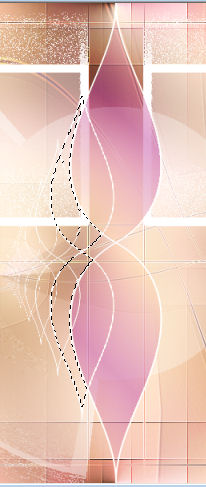
44. You should have this:
45. Selections/Select none.
46. Select the second shape with the magic wand tool:
47. Flood fill the selection with the foreground gradient.
48. Selections/Select none.
49. Select the third shape with the magic wand tool:
50. Flood fill the selection with the foreground gradient.
51. Selections/Select none.
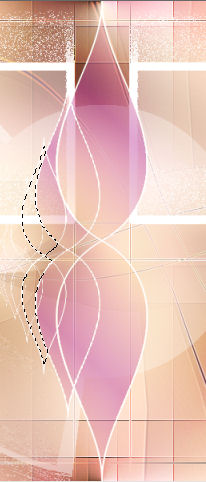
52. You should have this:
53. Open your woman's tube. Edit/Copy and paste as new layer.
54. Image/Resize if necessary all layers not checked).
Place to right.
55. Effects/3D Effects/Drop Shadow: 10 / 10 / 45 / 25 / #000000.
56. Your Layer Palette look like this:
57. Open the tube "deco2_olympia". Edit/Copy and paste as new layer.
58. Place like the final work.
59. Image/Add borders symmetric of 2 px color #ffffff.
60. Image/Add borders symmetric of 35 px background color #c04ca3.
61. Select the last border with the magic wand tool.
62. Set the Opacity of the Flood fill toll to 100.
Flood fill the selection with the foreground gradient.
63. Selections/Invert.
64. Effects/3D Effects/Drop Shadow: 8 / 8 / 35 / 15 / #000000.
65. Selections/Select none.
66. Image/Add borders symmetric of 2 px color #ffffff.
67. Layers/New raster layer.
68. Add your signature.
69. Layers/Merge/Merge all (Flatten).
Image/Resize to 950 px of width.
70. Save as jpeg file.
My version with the tube by Syl
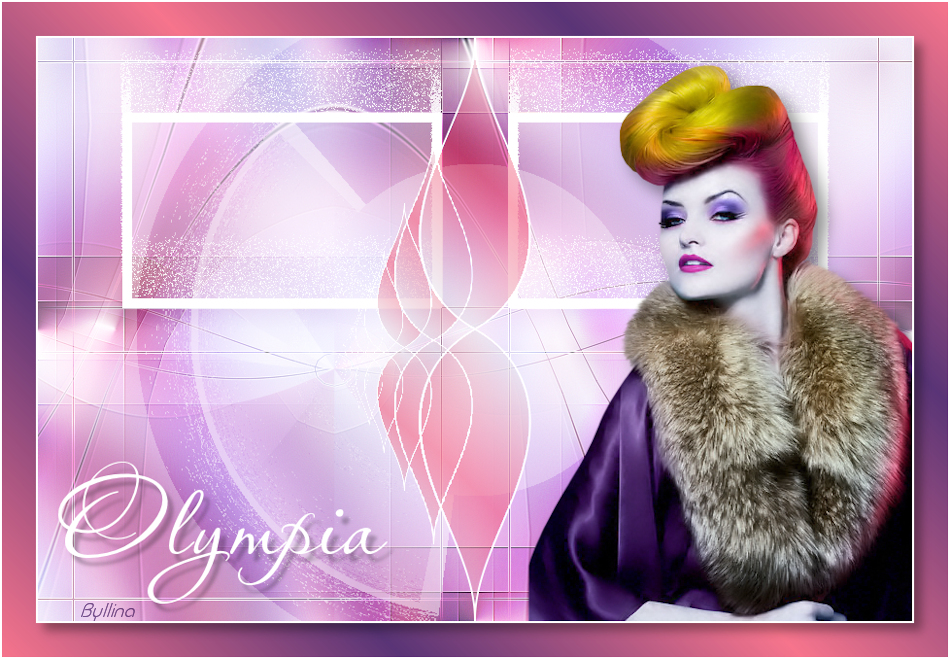
The two versions of my tester Giograf - Thanks

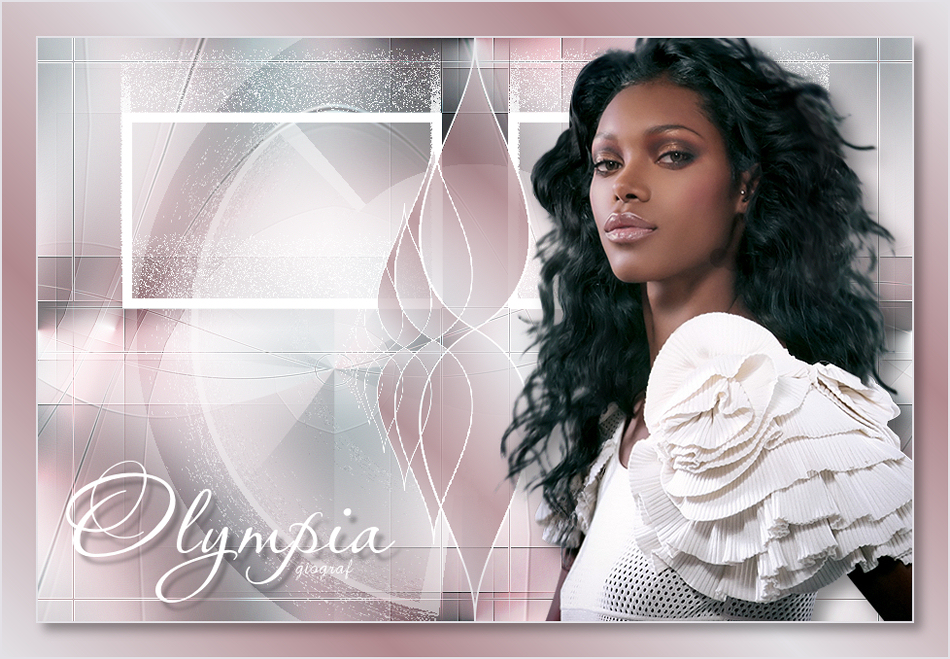
Nisanci
Tutorial translated by Byllina the 16 january 2016
Translations Aquarellice
Home
|