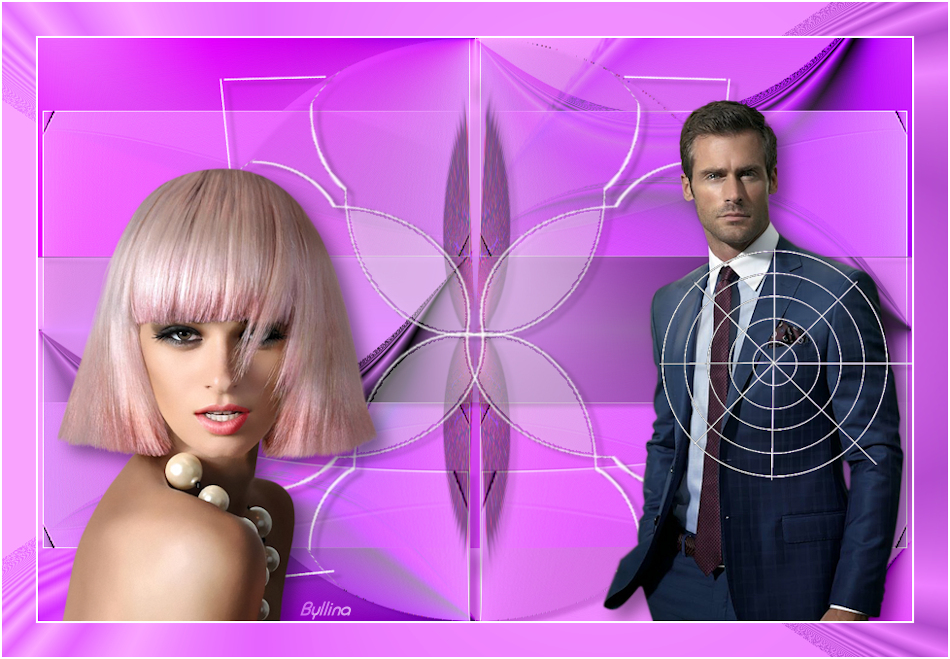
Revolver
You find the original of this tutorial here
Thank you very much Aquarellice for inviting me to translate your tutorials
I translated this tutorial using psp X8
Material here
Tube woman: Isa - Tube man: LB Tubes
Filters used: Unlimited 2 - Flaming Pear - Andrew's Filter 27

|
Bring the arrow to keep your place in your work
|
Preparation
Note: When working with your own colors, play with the Blend mode and/or Opacity at your own discretion
Color used
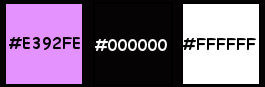
1. Materials palette: Set the Foreground color on #e392fe and the Background color on #000000.
2. Open "selections_alpha_revolver".
3. Window/Duplicate (SHIFT+D) and close the original.
4. Work in the copy.
5. Rename this layer "Raster 1".
6. Flood fill the layer with the foreground color.
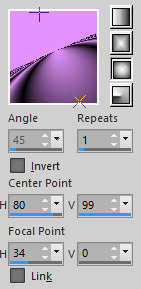
7. Set the foreground to gradient style sunburst:
8. Layers/New raster layer.
9. Flood fill the layer with the foreground gradient.
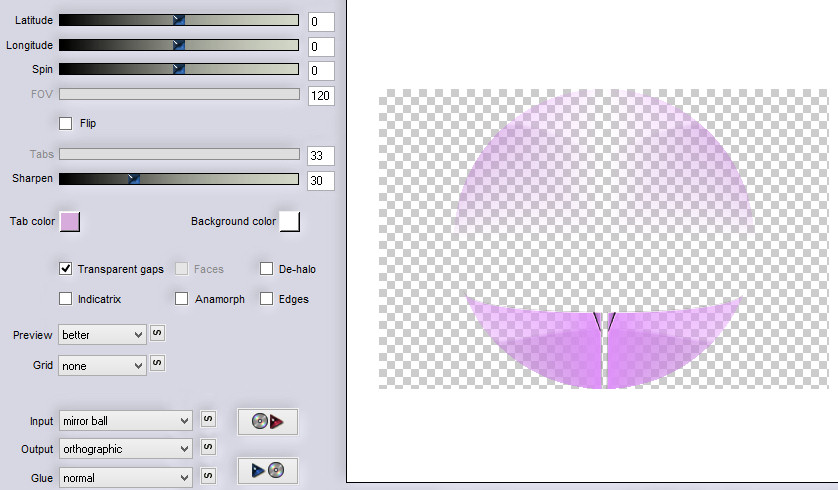
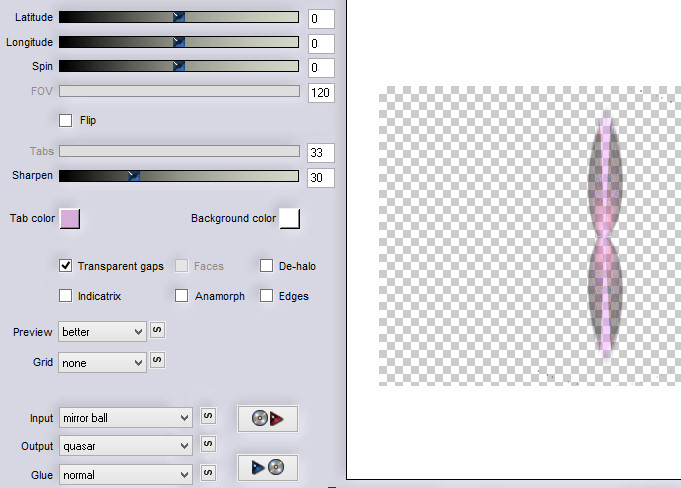
10. Effects/Plugins/Flaming Pear/Flexify 2:
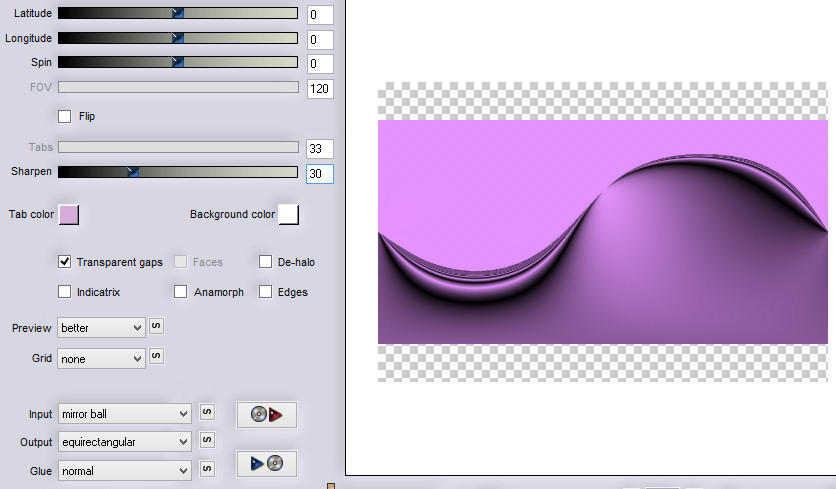
11. Set the blend mode of this layer to luminance.
12. Effects/Image effects/Seamless Tiling:
13. Layers/Duplicate.
14. Effects/Plugins/Flaming Pear/Flexify 2:
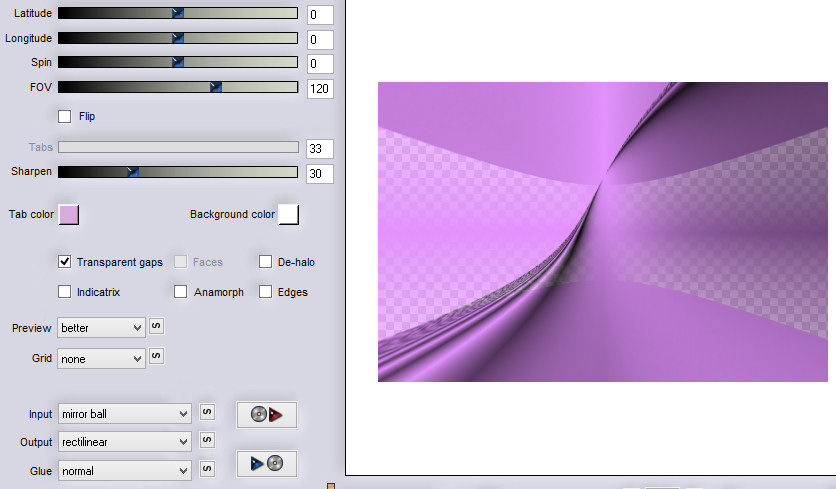
15. Set the blend mode of this layer to overlay.
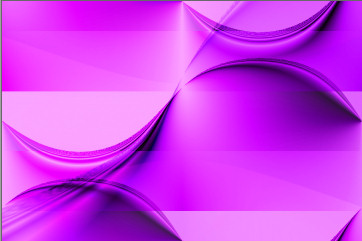
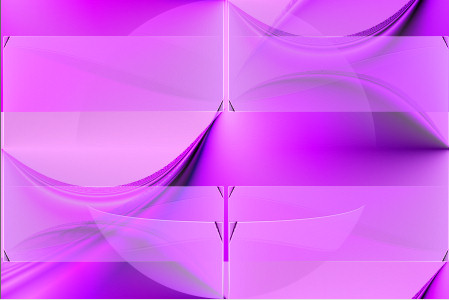
16. You should have this:
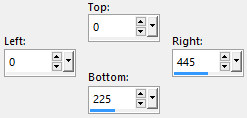
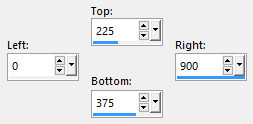
17. Activate the selection tool and choose the custom selection:
18. 
19. Selections/Promote selection to layer.
20. Selections/Select none.
21. Effects/Image effects/Seamless Tiling: settings in memory.
Effects/Edge Effects/Enhance.
22. Layers/Duplicate.
23. Image/Mirror/Mirror Horizontal.
24. Layers/Merge/Merge down.
25. Layers/Duplicate.
26. Image/Mirror/Mirror Vertical.
27. Set the blend mode of this layer to Luminance (Legacy).
28. Your Layer Palette look like this:
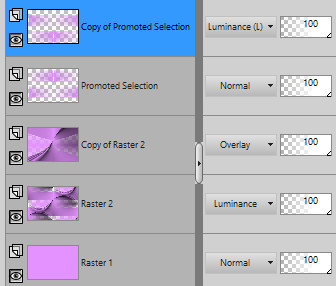
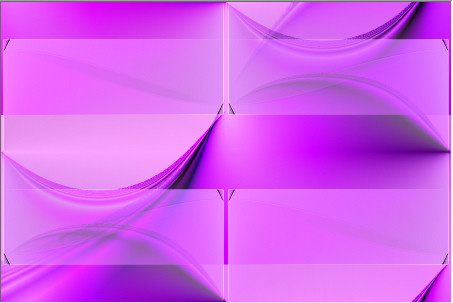
29. You should have this:
30. Layers/Duplicate.
31. Effects/Plugins/Flaming Pear/Flexify 2:
32. You should have this:
33. Effects/3D Effects/Drop Shadow: 5 / 8 / 25 / 5 / #000000.
34. Activate the Raster 2.
35. Activate the selection tool (letter S).
36. and choose the custom selection:
37. 
38. Selections/Promote selection to layer.
39. Selections/Select none.
40. Effects/3D Effects/Drop Shadow: settings in memory.
41. Layers/Arrange/Bring to top.
42. If this band seems a little dark set the opacity of this layer to 50.
43. Layers/New raster layer.
44. Selections/Load/Load selection from Alpha Channel and choose "Selection #1".
45. Set the Opacity of the Flood fill toll to 40:

Flood fill the layer with the foreground color.
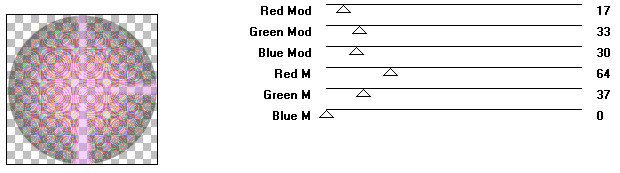
46. Effects/Plugins/Andrew's Filter 27/Spiral Patternsville:
47. Selections/Select none.
48. Effects/Plugins/Flaming Pear/Flexify 2:
49. Effects/3D Effects/Drop Shadow: settings in memory.
50. Layers/New raster layer.
51. Selections/Load/Load selection from Alpha Channel and choose "Selection #2".
52. Set the Opacity of the Flood fill toll to 100:

Flood fill the selection with the color #ffffff.
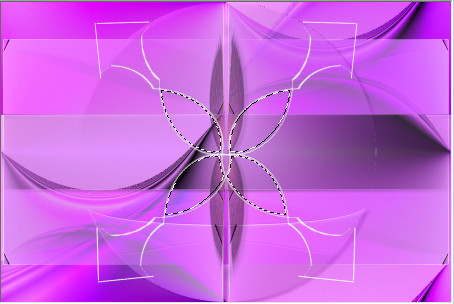
53. Selections/Select none.
54. Effects/Distortion Effects/Twirl: 100.
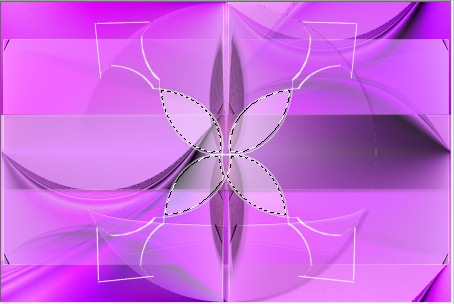
55. Layers/Duplicate.
56. Image/Mirror/Mirror Horizontal.
57. Layers/Merge/Merge down.
58. Effects/Plugins/Flaming Pear/Flexify 2:

59. Layers/New raster layer.
60. Selections/Load/Load selection from Alpha Channel and choose "Selection #3".
61. Flood fill the selection with the color #ffffff.
62. Selections/Select none.
63. Layers/Merge/Merge down.
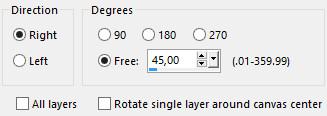
64. Image/Free rotate:
65. Layers/Duplicate.
66. Image/Mirror/Mirror Horizontal.
67. Layers/Merge/Merge down.
68. Activate the magic wand tool (Mode:Add)
69. Select the center of the petals as below:
70. Set the Opacity of the Flood fill toll to 40:
Flood fill the selections with the color #ffffff.
71. You should have this:
72. Selections/Select none.
73. Effects/3D Effects/Drop Shadow: settings in memory.
74. Open the man's tube "2264 - man - LB TUBES". Edit/Copy and paste as new layer.
75. Image/Resize to 80% (all layers not checked).
76. Place to right as final work.
77. Effects/3D Effects/Drop Shadow: 10 / 10 / 45 / 25 / #000000.
78. Open the tube "cible_revolver_@qua". Edit/Copy and paste as new layer.
Place to right as final work.
79. Effects/3D Effects/Drop Shadow: 5 / 8 / 25 / 5 / #000000.
80. Open the woman's tube "FB0274". Edit/Copy and paste as new layer.
Image/Resize to 60% (all layers not checked).
Place as final work.
81. Effects/3D Effects/Drop Shadow: 10 / 10 / 45 / 25 / #000000.
82. Image/Add borders symmetric of 2 px color #ffffff.
83. Image/Add borders symmetric of 35 px foreground color #e392fe.
84. Select this border with the magic wand tool.
85. Flood fill the layer with the foreground gradient:
86. Selections/Promote selection to layer.
87. Selections/Select none.
88. Layers/Duplicate.
89. Image/Mirror/Mirror Vertical.
90. Set the blend mode of this layer to overlay.
91. Layers/New Raster Layer.
92. Add your signature.
93. Layers/Merge/Merge all (Flatten).
94. Image/Add borders symmetric of 2 px color #ffffff.
95. Image/Resize to 950 px of width.
Save as jpeg file.
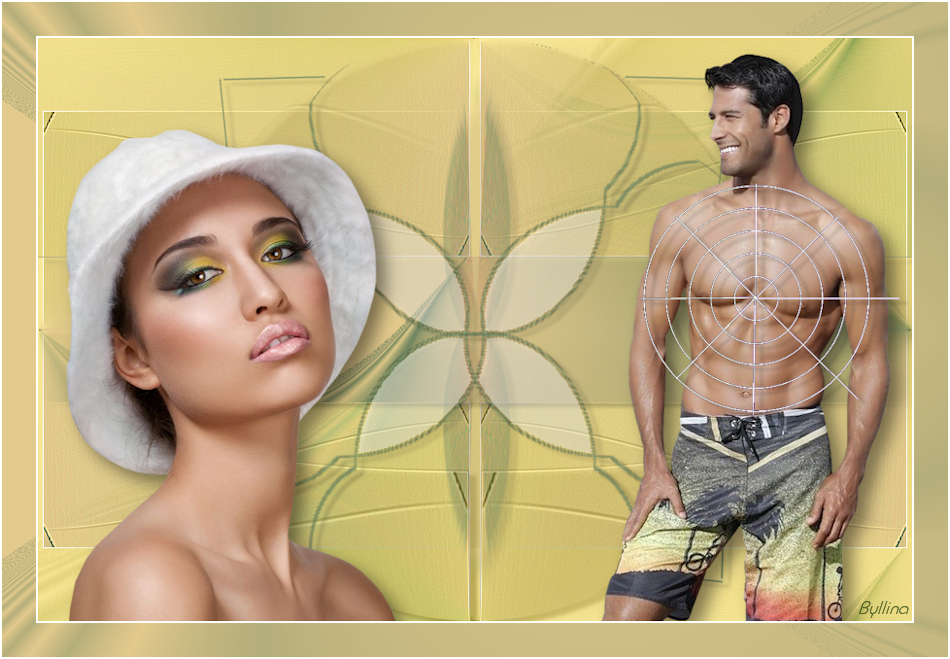
My version with the tube by Isa (FV0104) and Min@
The beautiful versions of my tester Giograf - Thanks
Tutorial translated by Byllina the 15 february 2016
Translations Aquarellice
Home
|