Preparation Open the masks "©hummel-jutta-mask80" and "chmasks_portrait5" on psp and minimize to icon Open the pattern "or004" on psp and minimize to icon Copy the three selections in the folder Selections
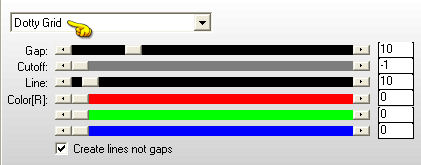
1. Open the tubes on your psp. 2. Open a new transparent image of 900 x 600 px. 3. Materials palette: Foreground color dark on #b51216 and the Background to pattern "or004": Angle 0 - Scale 100. 4. Flood fill the layer with the foreground color. 5. Layers/New raster layer. 6. Flood fill the layer with the background pattern. 7. Layers/New mask layer/From image and choose "chmasks_portrait5": marquer source luminance. 8. Layers/Merge/Merge group. 9. Place on the layer Raster 1. 10. Selections/Load selection from disk and choose "C- Josy selection 17". 11. Effects/Plugins/AP [Lines]/Lines-SilverLining:
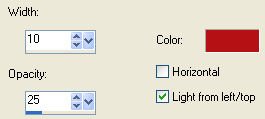
12. Effects/Edge Effects/Enhance more. 13. Selections/Select none. 14. Place on the layer Group-Raster 2. 15. Selections/Load selection from disk and choose "C- Josy selection 18". 16. Effects/Texture effects/Blinds (foreground color):
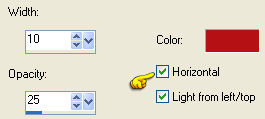
17. Selections/Select none. 18. Selections/Load selection from disk and choose "C- Josy selection 19". 19. Effects/Texture effects/Blinds (foreground color):
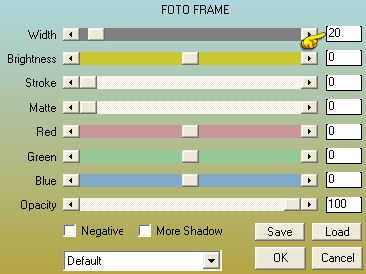
20. Selections/Select none. 21. Place on the layer Raster 1. 22. Open the tube "C-Josy392". Edit/Copy and paste as a new layer. 23. Image/Resize to 35% (all layers not checked). 24. Layers/Merge/Merge visible. 25. Layers/New raster layer. 26. Flood fill the layer with the color #ffffff. 27. Layers/New mask layer/From image and choose "©hummel-jutta-mask80": marquer source luminance. Layers/Merge/Merge group. 28. Set the blend mode to this layer to Soft light. 29. Layers/Merge/Merge visible. 30. Selections/Select all. 31. Selections/Modify/Contract 30 px. 32. Effects/Plugins/AAA Frames/Foto Frame:
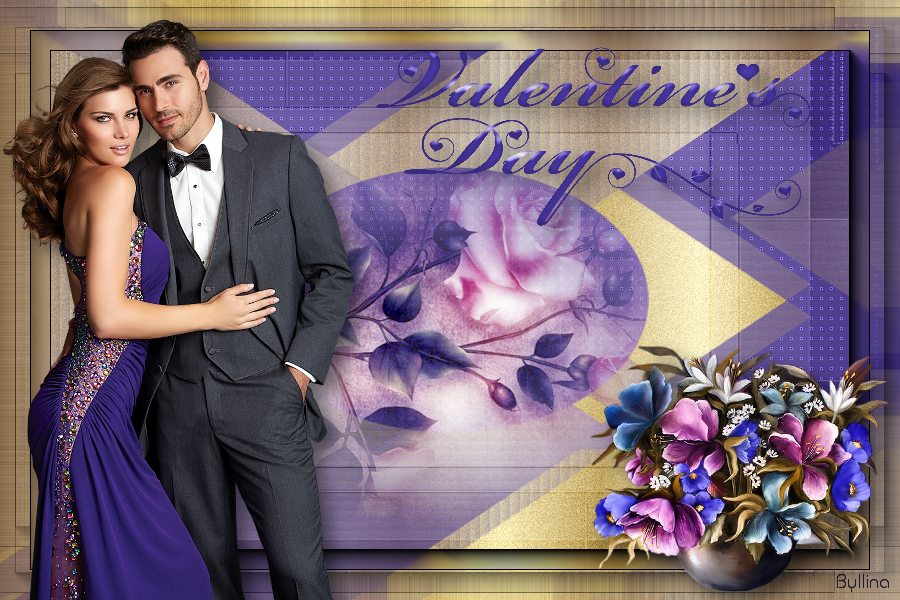
33. Selections/Invert. 34. Effects/Unlimited 2/Bkg Designer sf10 I/Cruncher: 20 / 20. Selections/Select none. 35. Open the tube "Alies 1CP731-couple-03112013". Edit/Copy and paste as a new layer. 36. Image/Resize to 85% (all layers not checked). 37. Place on the left. 38. Effects/3D Effects/Drop Shadow: 10 / 10 / 50 / 25 / #000000. 39. Open the tube "SvB Decoratie Valentijn 4". Edit/Copy and paste as a new layer. 40. Image/Resize to 65% (all layers not checked). 41. Effects/3D Effects/Drop Shadow: settings in memory. 42. Place on the right. 43. Open the tube "bsilvia-love-word-art-valentine-03". Edit/Copy and paste as a new layer. Image/Resize to 30% (all layers not checked). Place like the final work. 44.Effects/3D Effects/Drop Shadow: settings in memory. 45. Add your signature. Layers/Merge/Merge all (Flatten). Save as jpeg file. My version with the tubes of Mary and Cirlette and Heidis Design's misted
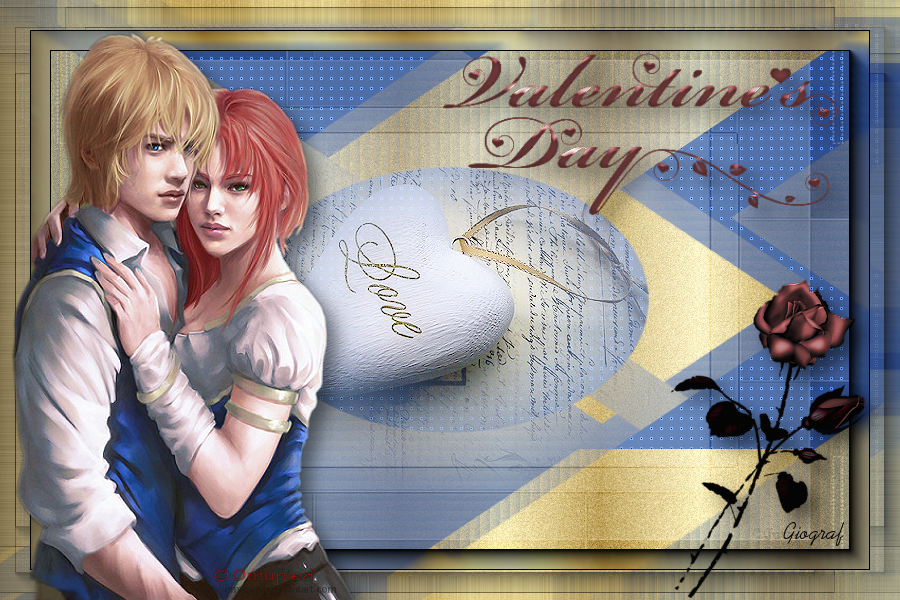
Thanks for your beautiful versions My tester Giograf
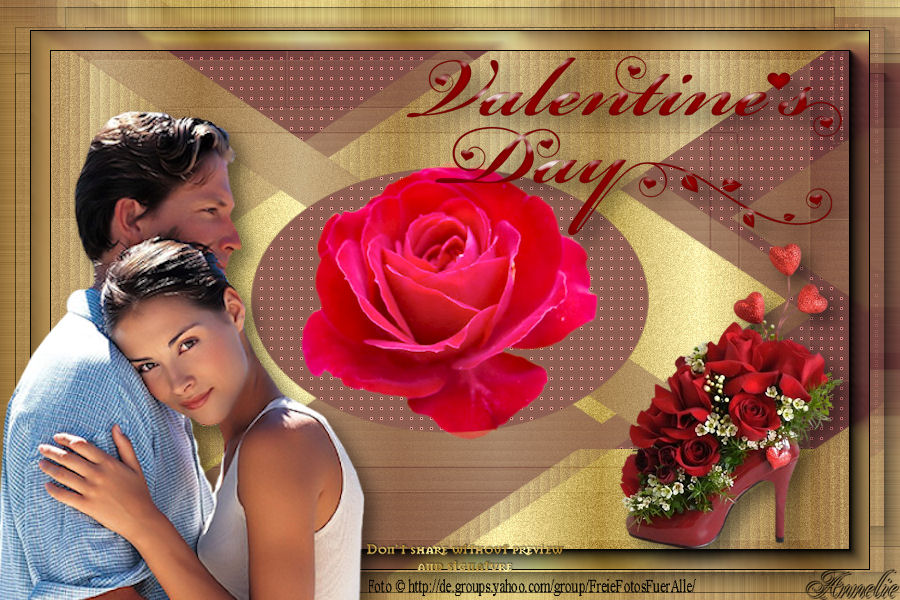
Annelie
Tutorial translated by Byllina the 12 february 2015 |