Preparation Open in psp "maske210" and minimize to icon Place the gradient "Dégradé alizée" in the folder gradients These are the used colors: Note: When working with your own colors, play with the Blend mode and/or Opacity at your own discretion
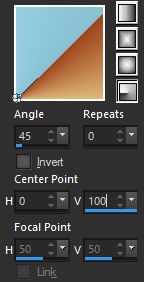
1. Materials palette: Set the Foreground color on #9f461a and the Background color on #a3dff3 2. Change the foreground to gradient style radial and choose "Dégradé alizée":
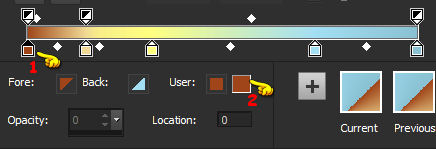
Note: to change the gradient and to use your colors: First (1) clic on the color you want modify and then (2) on the color in the square User and choose the new color:
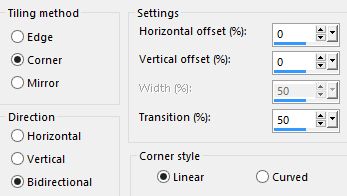
Clic on Save for the new gradient. 3. Open "Alpha_Alizée". Duplicate (SHIFT+D) and close the original. Work in the copy. Flood fill the layer with the gradient. 4. Effects/Image effects/Seamless Tiling:
5. Effects/Plugins/Unlimited 2/Simple/Blintz. 6. Effects/Plugins/Unlimited 2/[AFS IMPORT]/sqborder2 with default settings. Layers/Duplicate. 7. Effects/Plugins/Unlimited 2/Tile & Mirror/Mirrored & Scaled. 8. Layers/Duplicate. Image/Resize to 85% (all layers not checked). 9. Image/Free rotate:
10. Effects/Geometric Effects/Circle: transparent. 11. Image/Free rotate: settings in memory. 12. Effects/Distortion Effects/Polar Coordinates: Polar to rectangular. Set the blend mode of this layer to Multiply. 13. Layers/Duplicate. Image/Flip (or Image/Mirror/Mirror Vertical). You should have this:
14. Set the foreground color to #ffffff. Layers/New Raster Layer. Flood fill with the foreground color. 15. Layers/New mask layer/From image and choose "maske210": marquer uniquement source luminance. Adjust/Sharpness/Sharpen More. Layers/Merge/Merge group. 16. Effects/Image effects/Seamless Tiling: settings in memory. Change the opacity of this layer to 55. 17. Activate the layer Copy of Raster 1.
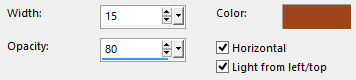
18. Selections/Load/Load selection from Alpha Channel and choose "Selection #1". 19. Selections/Promote selection to layer. Layers/Arrange/Bring to top. 20. Set the foreground color again to #9f461a. Effects/Texture Effects/Blinds (foreground color #9f461a):
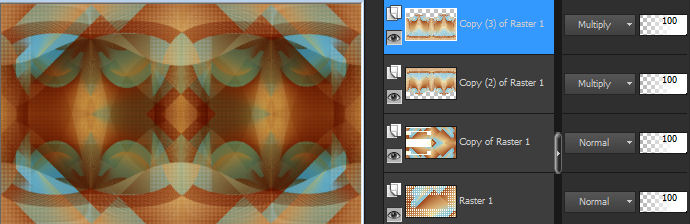
21. Effects/3D Effects/Drop Shadow: 0 / 0 / 55 / 25 / #000000. Selections/Select none. You should have this:
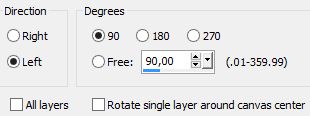
Close the visibility of Raster 1:
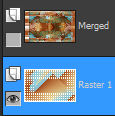
Layers/Merge/Merge visible. 22. Close the visibility of the layer Merged. Activate the Raster 1 and reopen the visibility of this layer:
23. Effects/Image effects/Seamless Tiling:
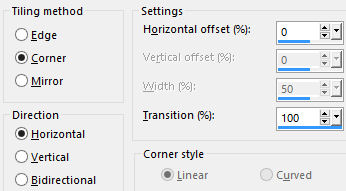
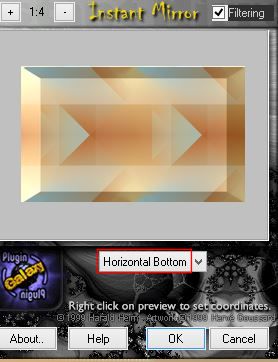
24. Effects/Plugins/Unlimited 2/Toadies/"Sucking Toad " Bevel 1 with default settings. 25. Effects/Plugins/The Plugin Site/Instant Mirror:
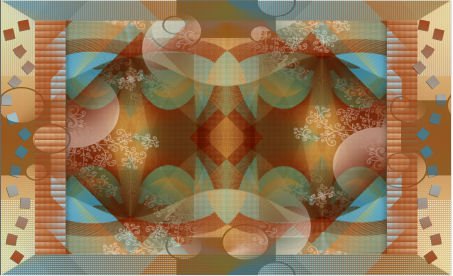
26. Layers/Duplicate. Image/Mirror (or Image/Mirror/Mirror Horizontal). Set the blend mode to this layer to Luminance (Legacy) and change the opacity to 50. 27. Activate the layer Merged and reopen the visibility of this layer. Image/Resize to 85% (all layers not checked). 28. Open "Déco Alizée". Edit/Copy and paste as new layer. Place like final work. If necessary, you change the colors using Adjust/Hue and saturation/Hue map (so find your main colors). 29. Effects/3D Effects/Drop Shadow: 1 / -1 / 45 / 0 / #000000. 30. Layers/New raster layer. Selections/Load/Load selection from Alpha Channel and choose "Selection #2". Flood fill the selection with the foreground color #9f461a. Selections/Select none. 31. Effects/Image effects/Seamless Tiling:
Set the blend mode of this layer to Luminance (Legacy) and change the opacity to 85. You should have this:
32. Image/Add borders symmetric of 2 px background color #a3dff3. 33. Image/Add borders symmetric of 45 px foreground color #9f461a. 34. Select the border dark with the magic wand tool (tolerance 0 - feather 0). Effects/Plugins/Unlimited 2/Toadies/What Are You with default settings. 35. Selections/Select all. Image/Add borders symmetric of 45 px color #ffffff. Effects/3D Effects/Drop Shadow: 0 / 0 / 60 / 40 / #000000. Selections/Select none. 36. Open "Titre Alizée". Edit/Copy and paste as new layer. Place where you want. 37. Open the tube of the femme "Femme papillon". Edit/Copy and paste as new layer. Place to the right. Adjust/Sharpness/Sharpen. Effects/3D Effects/Drop Shadow: 10 / -15 / 35 / 15 / #000000. 38. Add your signature. Layers/Merge/Merge all (Flatten). Image/Add borders symmetric of 1 px foreground color #9f461a. Image/Resize to 950 px of width. Save as jpeg file. My version with the tube of OBG
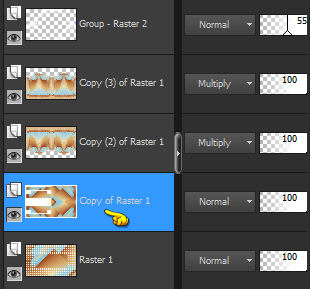
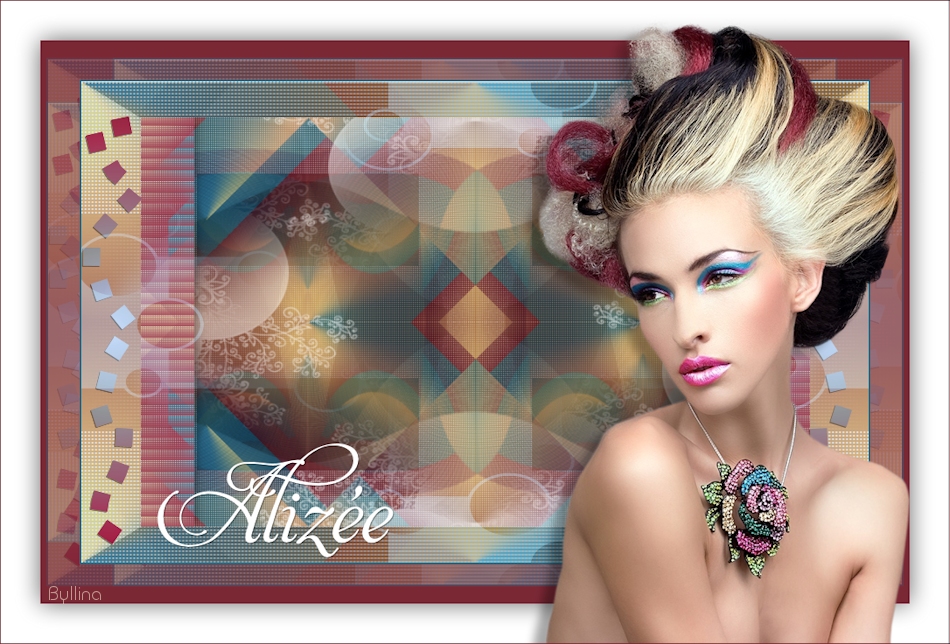
The beautiful version of my tester Giograf
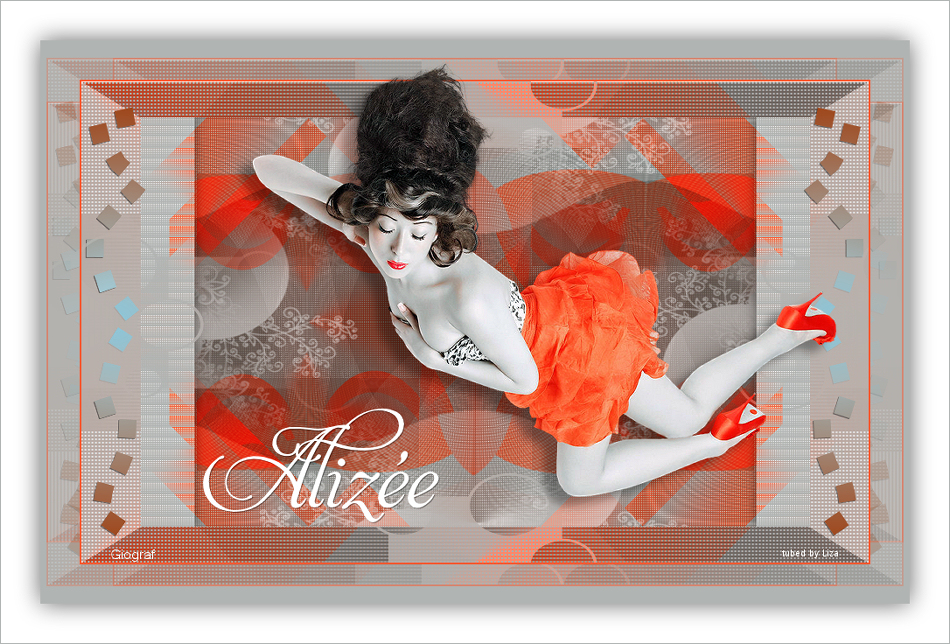
The beautiful version of Mav
Tutorial translated by Byllina the 6 july 2015 |